How to Solve the Unexpected Store Exception BSOD Error in Windows 10
Summary: The updates to Windows 10 bring a set of fancy features and improve aesthetics. But like every other time, these features are sometimes accompanied by a bunch of technical issues that vex you. The error of unexpected store exceptions has troubled many users after they updated their PCs from previous versions of Windows 10. It is usually accompanied by a dreaded BSOD screen. Most of the time this exception has been raised because of an anti-virus program, but many other reasons are also possible. In this article, we will discuss how to stop the blue screen of death from reoccurring. And if this error triggers further another problem like data loss, you can turn to Bitwar Data Recovery for help.
Table of Contents
How to Solve Fix the Bsod Error of Unexpected Store Exception
Solution 1: Uninstall Anti Virus Program
Windows 10 provides Microsoft Defender, which serves as a powerful and default virus protection tool. So even if you remove your anti-virus software, don’t worry, your PC will be well guarded. Refer to the following steps to learn how to uninstall your third-party anti-virus program.
Step 1: Press the Windows key + X to bring up the pop-up menu above the start button.
Step 2: Select Control Panel from the menu.
Step 3: In the control panel, look for a section labeled Programs and then click on it.
Step 4: In the new window you will find a list of programs installed on your PC. Find your anti-virus software from the list. If you have installed multiple different protection software, you should uninstall all of them. To do so, right-click on the software and then click on Uninstall.
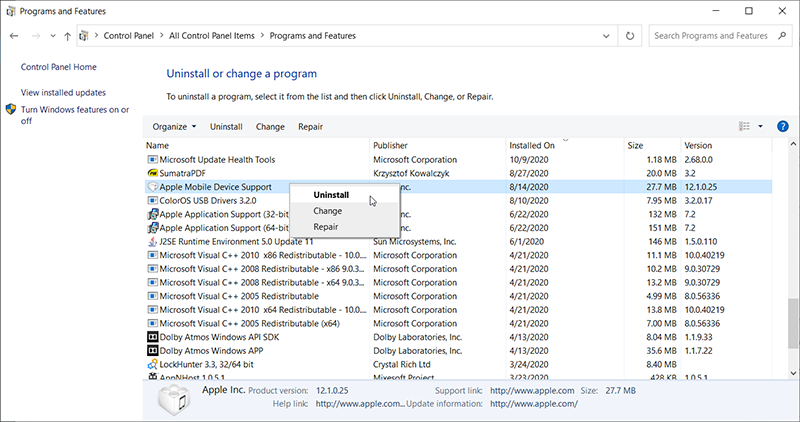
Step 5: A prompt will ask whether you really want to proceed with the uninstallation, click on Yes.
Step 6: Follow the on-screen instructions to complete the uninstallation.
Step 7: Reboot your computer.
Once you perform the aforementioned steps, the chances of this error recur become slim. If unfortunately, you are still running into this issue, refer to the following methods.
Solution 2: Check Hard Disk Health
Some users also reported that they encountered this issue after finding some issues with their hard drive’s health. According to what they said, There were some important files on a bad sector of the hard drive that might be the culprit of this issue. Other users also reported that a dying hard drive could also trigger this issue. To find a solution to it, in this case, you can run a health diagnostic test using a third-party program. Follow these steps:
Step 1: To perform the health diagnosis, we recommend you to use Crystal Disk info, which is a small tool that can help you have a better picture of the status of your hard drive.
Step 2: Download and install the tool from its official website.
Step 3: Launch the tool. The main interface should present the status of your hard drive. For normal hard drives, it shows Good, but if your disk is having some issues, it will say something like Bad, for example.
Step 4: If the tool diagnoses your hard drive as bad, then that may be the cause of the issue. We recommend you replace the hard drive to solve the issue.
Solution 3: Check Driver Issues
If you have the same issue and have a Lenovo PC, then you can use these steps to remove the exception:
Step 1: As a first step, we need to disable the automated installation of drivers. Type in gpedit.msc in the search bar.
Step 2: In the left pane of the window, Look for Computer Configuration and then expand it.
Step 3: Navigate to Administrative Templates > System > Device Installation.
Step 4: Click on Device installation.
Step 5: In the window on the right-hand pane, double-click on Prevent installation of devices not described by other policy settings
Step 6: Select Enabled and click on Ok.
Step 7: Reboot your computer now.
Step 8: Press Windows key + X and then select Device Manager.
Step 9: In the new window, find the Sound video and game controllers tree, right-click on Conexant SmartAudio or IDT High Definition Audio and then click on Uninstall device from the drop-down menu. Make sure that the Delete the driver software for the device checkbox is ticked off.

Step 10: Type in Control panel in the search bar and then navigate to Programs and Features. From the list of programs, uninstall everything related to Conexant/IDT and Dolby.
Step 11: Reboot the PC.
Step 12: After you have rebooted, you have to download from this link the following driver for the Dolby and audio component and then install it.
Audio driver (Conexant) for 64 bit Windows- Lenovo G410, G510
Step 13: After you have reinstalled the latest driver, check whether the problem is fixed.
Solution 4: Turn off Fast Startup
Windows 10’s Fast Startup feature works similarly to some hybrid sleep modes of previous versions of windows. It combines the elements of a cold shutdown with the hibernate feature. This feature makes Windows boot faster than usual. However, this feature could well cause computer issues by not loading the required drivers properly. Since it doesn’t reload the drivers, some drivers might not be loaded. in this case, we might be experiencing the error of unexpected store exceptions. To fix it, try using the following steps:
Step 1: Press Windows + R to launch the Run Box. Type in Control Panel and then press Enter.
Step 2: Click on Power Options.
Step 3: Click on the Choose what the power buttons do button on the left pane.
Step 4: Click on the option of Change Settings that are currently unavailable.
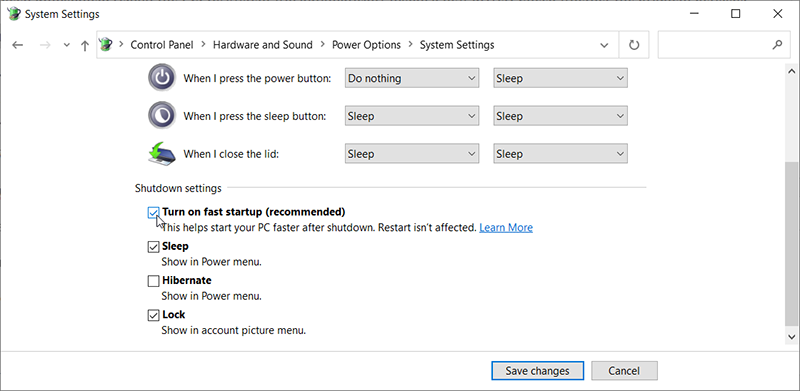
Step 5: Scroll down the window and then uncheck the box next to the Turn on fast startup option.
Step 6: Reboot your computer. Check if the problem is fixed.
Solution 5: Update your Display Drivers
In this solution, you need to start your PC in Safe Mode and delete the currently installed drivers for your display card. After you reboot your computer, the default display drivers will automatically be installed.
Step 1: Refer to this article offered by Microsoft to learn how to start your PC in safe mode.
Step 2: After you have booted the computer in safe mode, right-click on the start menu button and then select Device Manager from the list.
Step 3: Expand the Display adapters section in the window of Device Manager and then right-click on your display hardware. Select the option of Uninstall Device and then press Ok and proceed.
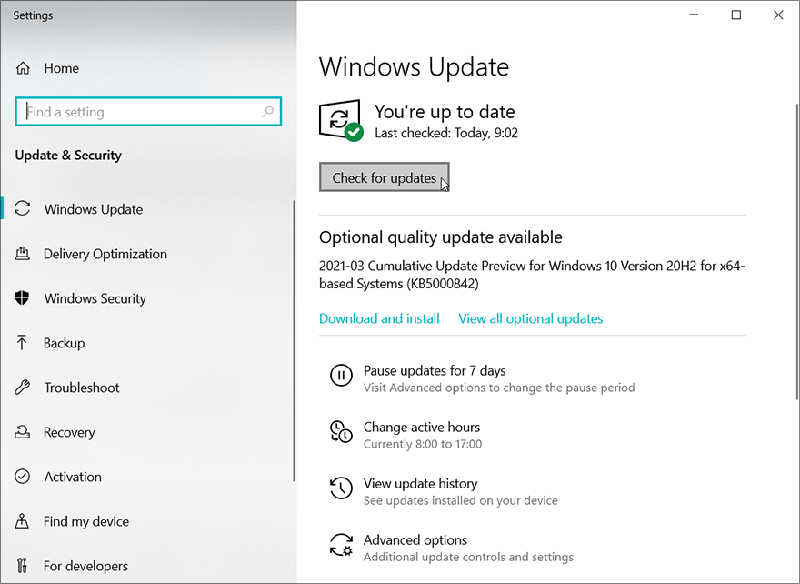
Step 4: Reboot your PC. Press the Windows + Q button to launch the search bar. Type in Windows update and then open it.
Step 5: Click on the button of Check for updates. Windows will automatically check for available updates and install them.
Step 6: After updating, check whether your issue is fixed.
Solution 6: Run System File Checker
System File Checker (SFC) is a tool offered by Microsoft Windows that allows the user to scan the computer for corrupt files in the operating system. This tool has prevailed since Windows 98. It is a very powerful tool for diagnosing issues and checking if any one of them is caused by corrupt files in windows.
Step 1: Press Windows + Q. type Command Prompt, right-click on the search result, and then click on Run as administrator.
Step 2: In the window of Command Prompt, type in the following command and then press Enter.
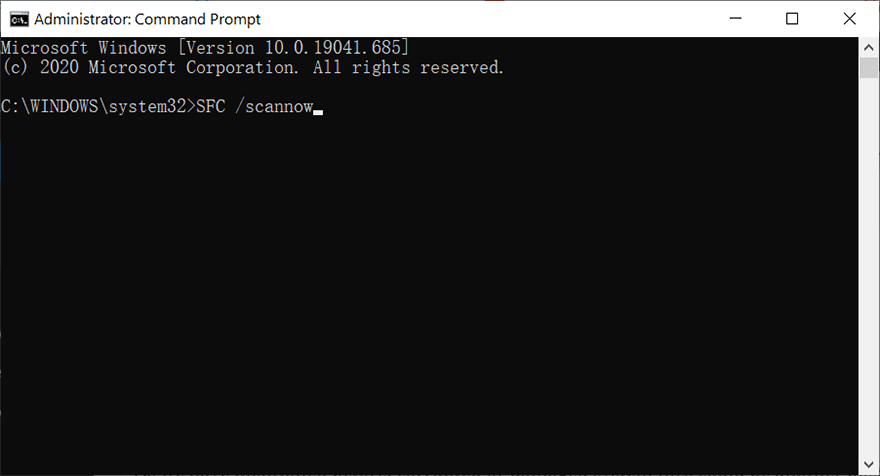
Step 3: Restart the PC to check whether the issue is fixed.
How to recover lost files using Bitwar Data Recovery
If the computer ends up losing important data because of the error of Windows stop code unexpected store exception, you’re not alone since the error has frustrated many users by removing their important files. Fortunately, there is a tool that can help you cope. Bitwar Data Recovery is an effective and user-friendly tool that can bring back deleted/missing files and restore them to your PC. The tool will help you recover different file formats, such as videos, images, or PDF files. Refer to the following steps to learn how it works like magic.
Step 1: Visit our official website, download Bitwar Data Recovery, and then install it.
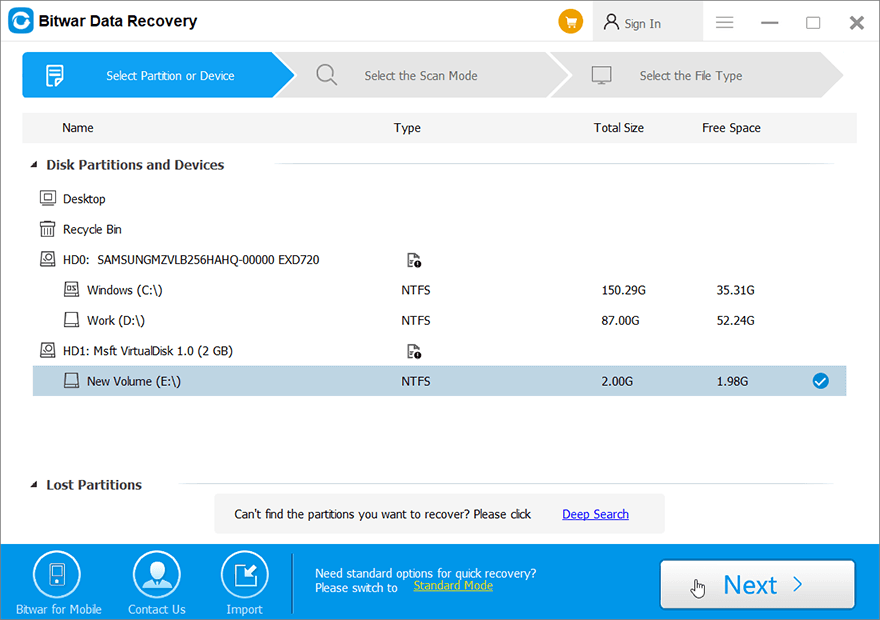
Step 2: Launch the tool and select the drive where the missing files were stored and then click on Next.
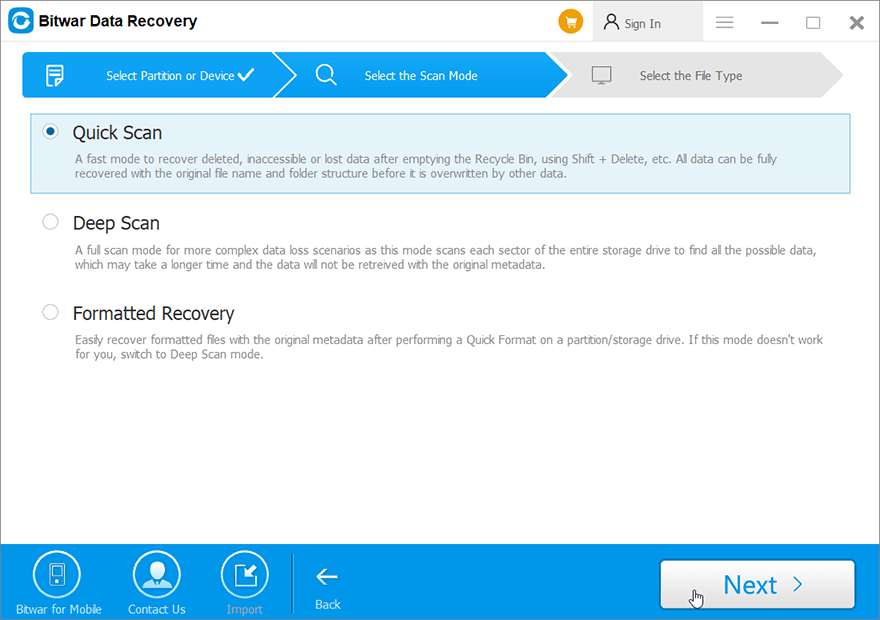
Step 3: Select a scan mode in this phase. We would like to recommend you use Quick Scan, which is capable of recovering a healthy number of lost files. If it doesn’t work, you can re-run the software and use Deep scan, which is more effective.
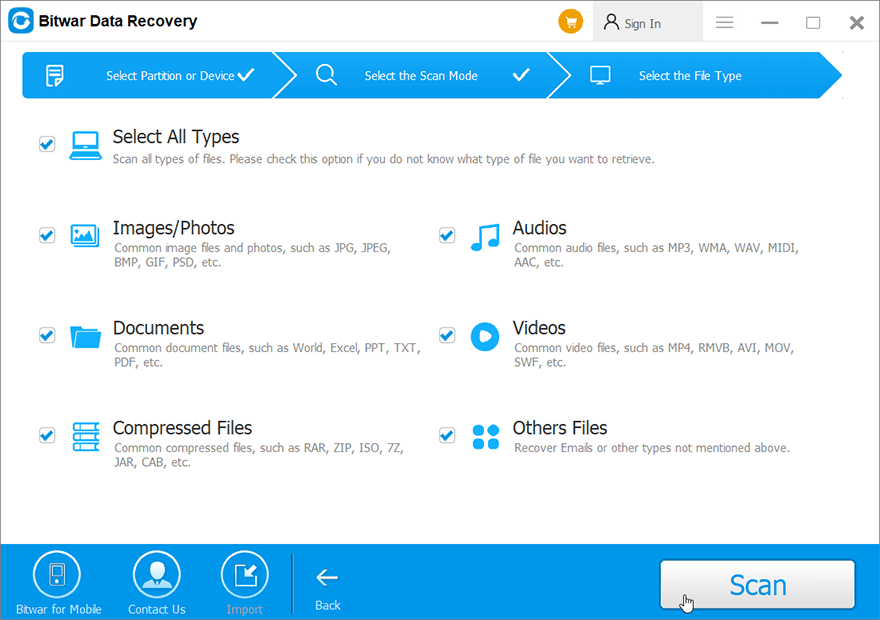
Step 4: Select the types of files you want to retrieve and then click on Next.
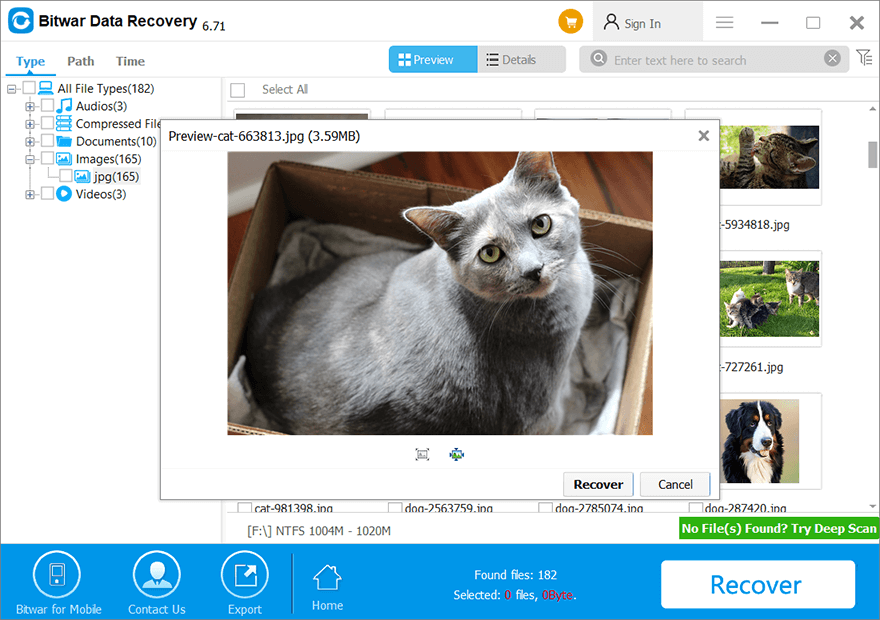
Step 5: Preview the wanted files to check their intactness. Select files and click on Recover to start recovery.
Conclusion
Without any question, the windows stop code of unexpected store exception is a vexing sight for every computer user. However, with the help of the aforementioned solutions, you’ll be able to fix the error. And if you run into any data loss problems that are close to the heels of the error, you could always turn to Bitwar Data Recovery for help.
Previous Article
6 Solutions to the Error of System_Thread_Exception_Not_Handled Summary: The updates to Windows 10 bring a set of fancy features and improve aesthetics. But like every other time,...Next Article
How to Fix the These Items Are Too Big to Recycle Error Summary: The updates to Windows 10 bring a set of fancy features and improve aesthetics. But like every other time,...
About Bitwar Data Recovery
3 Steps to get back 500+ kinds of deleted, formatted or lost documents, photos, videos, audios, archive files from various data loss scenarios.
Learn More


