Macでグレー表示されたフォルダまたはファイルを修正するための4つの効果的なソリューション
要約:以下の記事は、Macユーザーに Macのフォルダまたはファイルをグレー表示 を使用してデータを発行および回復します Bitwar データ復元ソフトウェア Mac用!
Macユーザーは、Macファイルシステムでフォルダまたはファイルを発行すると、突然グレー表示になり、ファイルまたはフォルダへのアクセスが制限されることがあると報告しました。したがって、データにアクセスできない場合は、最終的にデータが失われる可能性もあるため、できるだけ早く修正する必要があります。そうでない場合は、最高のファイルを回復することができます Macのデータ回復 tool.
目次
Macでフォルダまたはファイルの概要がグレー表示される
In a normal situation, all the files and folders in your Mac finder application will be displayed in black color, so they are turned into grey, which will mean that the files or folders are inaccessible. You will no longer be able to edit or perform any action on them. This issue usually happens after you copy the file or folder from one location to another location, especially with the network driver.
Most of the time, the filing date of these greyed-out files and folders will turn to 24 January 1984, when the Mac was introduced. We will show you a good example of the grayed out folders or files on Mac issue which is faced by one of the Mac users:
Macでファイルまたはフォルダがグレー表示される理由
There are a few factors that can cause folders or files to turn grey out on mac, such as below:
- フォーマットされたハードドライブ
- オペレーティングまたはファイルシステムのクラッシュ
- 停電
- 障害のあるファイルシステムエントリ
After referring to all of these factors, you can figure out which of the reasons cause the greyed out folders or files on the Mac issue to happen so you can proceed with effective solutions to fix it. Still, if you are in a hurry to access the data, you should recover the files first using the Mac data recovery tool!
グレー表示されたフォルダまたはファイルからデータを回復する
使用するのが最善です ビットウォー データ復元ソフトウェア Mac用 それはMac用の最も強力で信頼性の高い回復ツールであるため、ファイルを回復します。その上、それは回復のための複数のファイル形式をサポートし、効率的な回復結果を提供します。
したがって、Macのグレー表示されたフォルダまたはファイルからデータを取得するには、以下のガイド手順に従ってください。
ステップ1: Go to Bitwarsoft Download Center 最高のMacデータ回復ツールをインストールします。
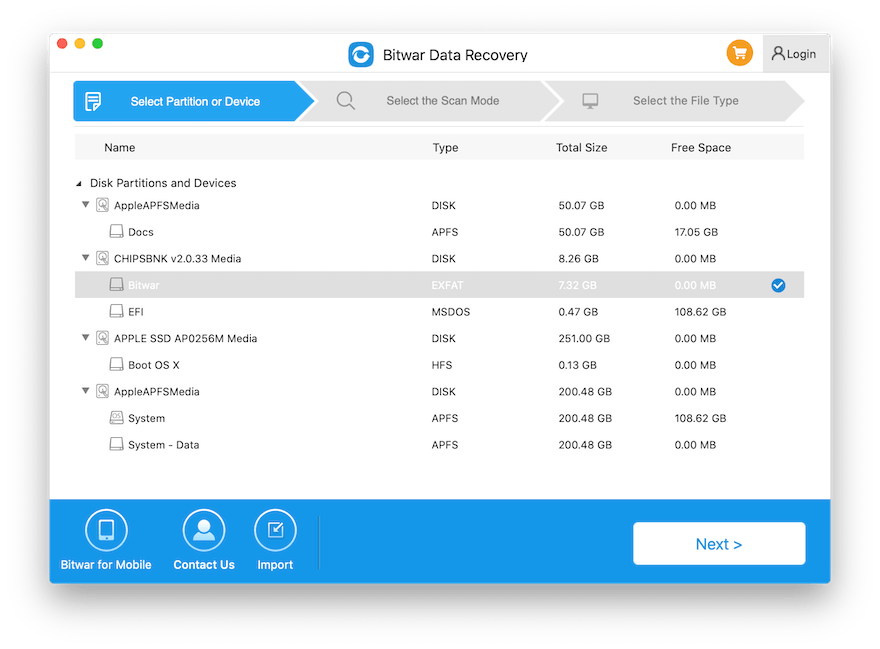
ステップ2:回復ツールを開き、を選択します Partition グレー表示されたファイルまたはフォルダの次に、をクリックします 次 ボタン。
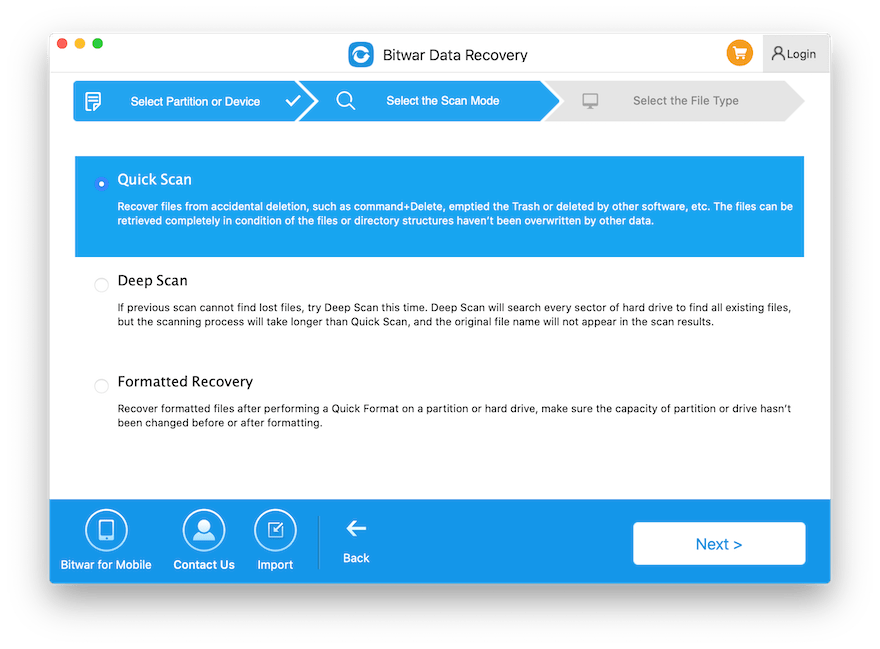
ステップ3: Choose the スキャンモード and continue with 次.
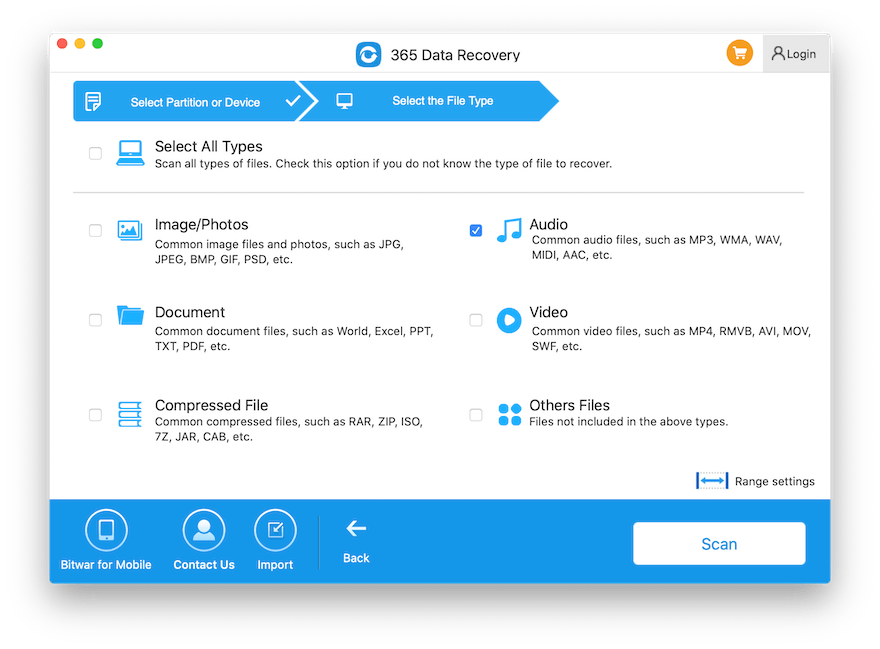
ステップ4: Select the File types that you want to recover.
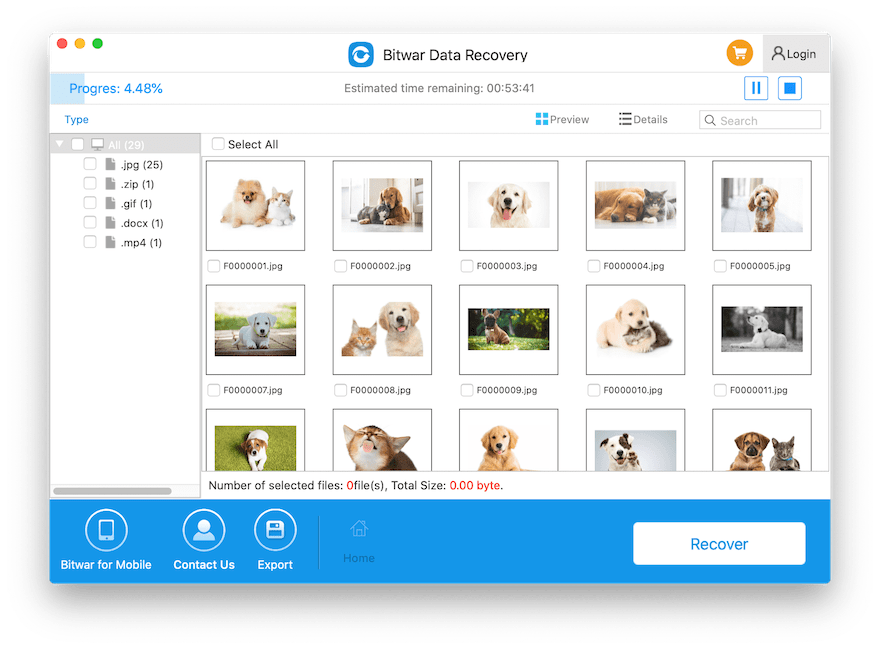
ステップ5: プレビュー 必要なデータを選択します。最後に、をタップします 回復 ボタンをクリックして、データの復元を開始します。
Macのフォルダまたはファイルのグレー表示の問題を修正するための実用的なソリューション
解決策1:Xcodeを続行します
この問題を解決する最も速い方法はファイルの日付を変更することですが、MacユーザーはAppStoreのXcodeを使用して変更する必要があります。
ステップ1: Open the Finder アプリを使用して、灰色のファイルまたはフォルダーを検索します。 1984年1月24日日付 エラー。
ステップ2: Proceed to Applications and open the ターミナルアプリ.
ステップ3: Type in the command: SetFile -d 17/02/2020 /Path/to/grayed-out-folder/ を押します。 Return.
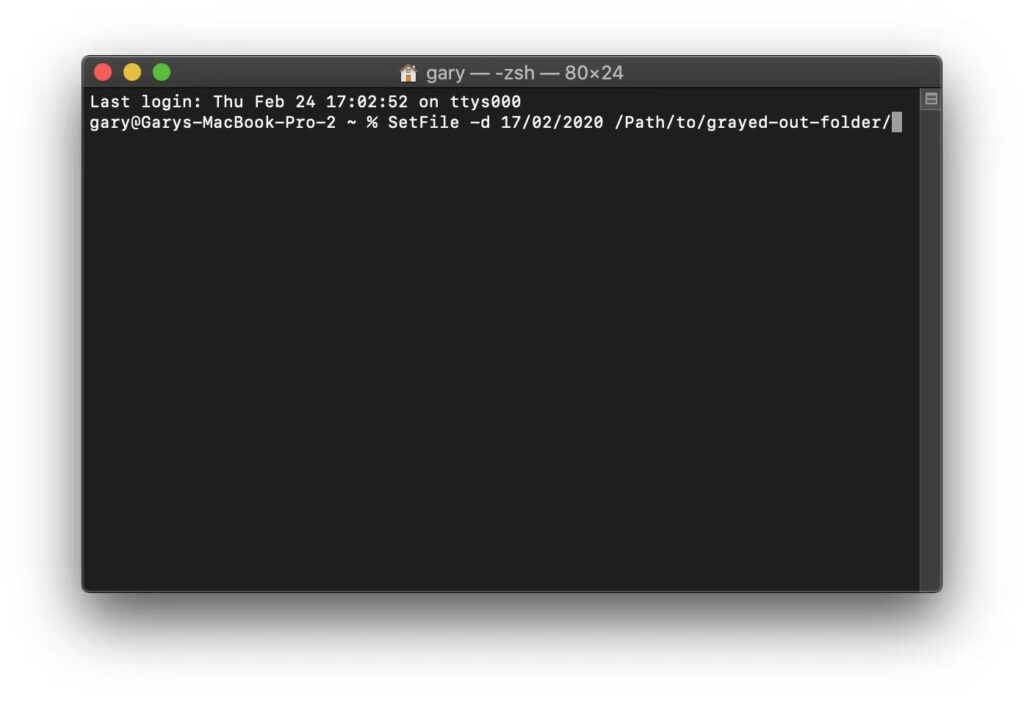
上記のコマンドを実行すると、グレー表示されたファイルとフォルダの日付が最新のデータに更新されます。また、ご希望に応じて日時を設定することができます。
解決策2:ノートアプリ
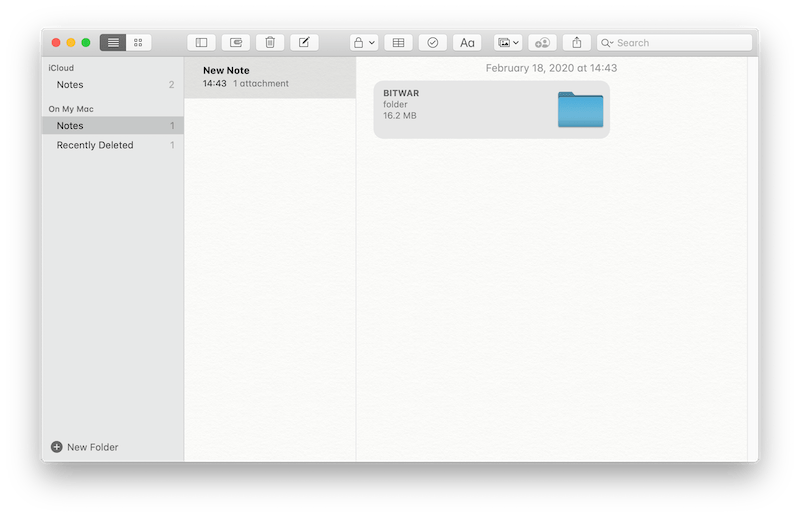
ステップ1: Go to Application または Launchpad to open the ノートアプリ と選択します メモを作成する.
ステップ2:Finderに移動し、グレー表示されたファイルを探します。次に、ファイルを新しいメモの空白スペースにドラッグします。
ステップ3: 数秒待ってから ダブルクリック ファイルに。その後、ファイルが通常の状態に戻ったことを確認できます。必要なのは、ファイルをフォルダーから新しいフォルダーにコピーすることだけです。
解決策3:エイリアスを作成する
ステップ1: Right-click 影響を受けるファイルまたはフォルダ。
ステップ2: Click エイリアスを作成する and click on the エイリアスフォルダ.
ステップ3: ファイルをコピーする フォルダから新しいファイルの場所へ。
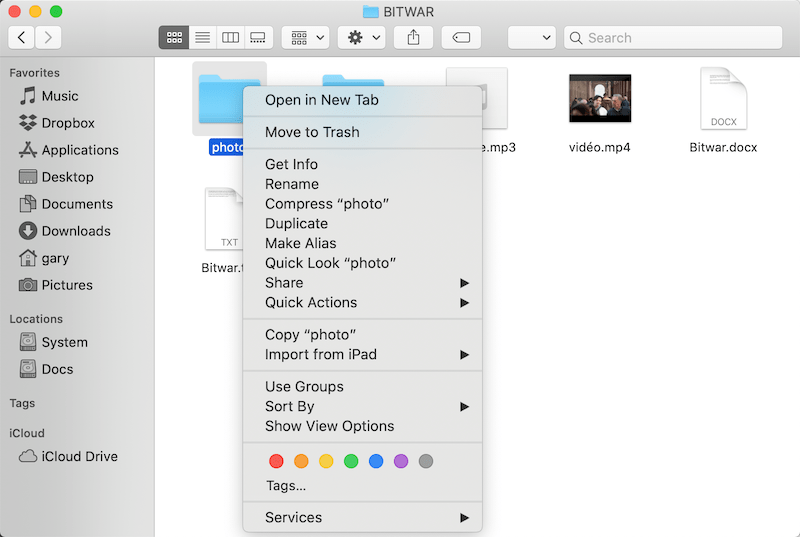
Macシステムでは、操作を続行するために管理者パスワードの入力を求められる場合があります。
解決策4:ターミナルアプリを使用して直接フォルダーを開く
上記のすべての解決策でMacのフォルダまたはファイルのグレー表示の問題を修正できない場合は、ターミナルアプリを使用してファイルを直接開くことができます。
ステップ1: Open the Spotlight によるダイアログボックス Command + スペース and type Terminal ボックス内で、をクリックします Return.
ステップ2:入力してください Open ターミナルウィンドウで、をクリックします スペース;継続するグレー表示されたファイルまたはフォルダをターミナルウィンドウに直接ドラッグします。
ステップ3:フォルダアドレスに完全なパッチが入力されていることを確認してください。
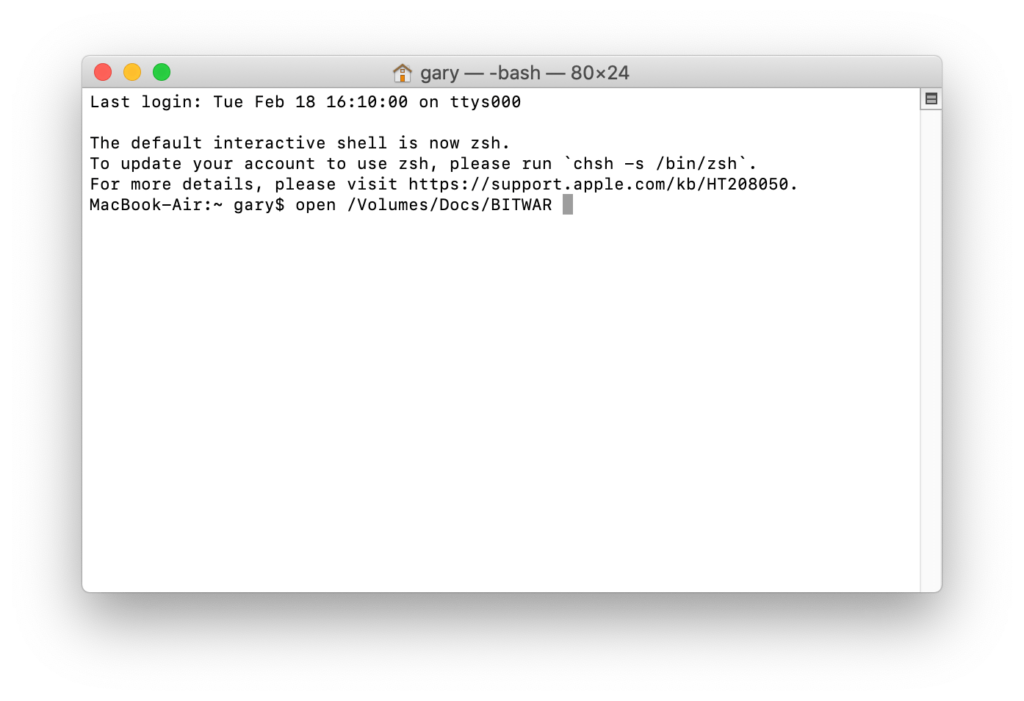
ステップ4:最後に、をクリックします 戻る、 グレー表示されたファイルが飛び出します。ファイルを別の新しいファイルの場所に転送してください。
今、直してください!
If you met with the files or folders that had turned grayed out or data is set to 24 January 1984, then all you need to do is to follow the steps given above to fix it as soon as possible. Moreover, if you are in a hurry to access the data or files, all you need is to recover the data using the Mac data recovery tool to prevent permanent data loss!
前の記事
6 Best Ways to Fix ‘File System Check Exit Code is 8’ Error on MacOS Summary: The article below will let Mac users understand the grayed out folders or files on Mac issue and recover...次の記事
How to Restore Data from Unmounted External Hard Drive on Mac? Summary: The article below will let Mac users understand the grayed out folders or files on Mac issue and recover...
Bitwar データ復旧について
3 つのステップで、さまざまなデータ損失シナリオから削除、フォーマット、紛失した 500 種類以上のドキュメント、写真、ビデオ、オーディオ、アーカイブ ファイルを取り戻します。
詳細はこちら


