4 Effective Solutions to Fix Grayed Out Folders Or Files on Mac
개요: The article below will let Mac users understand the grayed out folders or files on Mac issue and recover the data using Bitwar 데이터 복구 프로그램 for Mac!
Mac users reported that sometimes they would issue their folders or files in their Mac file system, which will turn greyed out suddenly and restrict them from accessing the files or folders. Therefore, if you aren’t able to access the data, it will also lead to data loss in the end, so you should fix it as soon as possible. If not, you can recover the files with the best Mac data recovery tool.
목차
Overview of Folders or Files Turn Grayed Out on Mac
In a normal situation, all the files and folders in your Mac finder application will be displayed in black color, so they are turned into grey, which will mean that the files or folders are inaccessible. You will no longer be able to edit or perform any action on them. This issue usually happens after you copy the file or folder from one location to another location, especially with the network driver.
Most of the time, the filing date of these greyed-out files and folders will turn to 24 January 1984, when the Mac was introduced. We will show you a good example of the grayed out folders or files on Mac issue which is faced by one of the Mac users:
Reasons for Files or Folders Turn Grayed Out on Mac
There are a few factors that can cause folders or files to turn grey out on mac, such as below:
- Formatted Hard Drive
- Operating or File System Crash
- Power Failure
- Faulty File System Entry
After referring to all of these factors, you can figure out which of the reasons cause the greyed out folders or files on the Mac issue to happen so you can proceed with effective solutions to fix it. Still, if you are in a hurry to access the data, you should recover the files first using the Mac data recovery tool!
Recover Data from Grayed-out Folders or Files
It is best to use 비트와르 Data Recovery Software for Mac to recover the files because it is the most powerful and reliable recovery tool for Mac. Besides, it supports multiple file formats for recovery and provides efficient recovery results.
So quickly follow the guided steps below to retrieve the data from the grayed-out folders or files on Mac:
Step 1: Go to Bitwarsoft Download Center to install the best Mac data recovery tool.
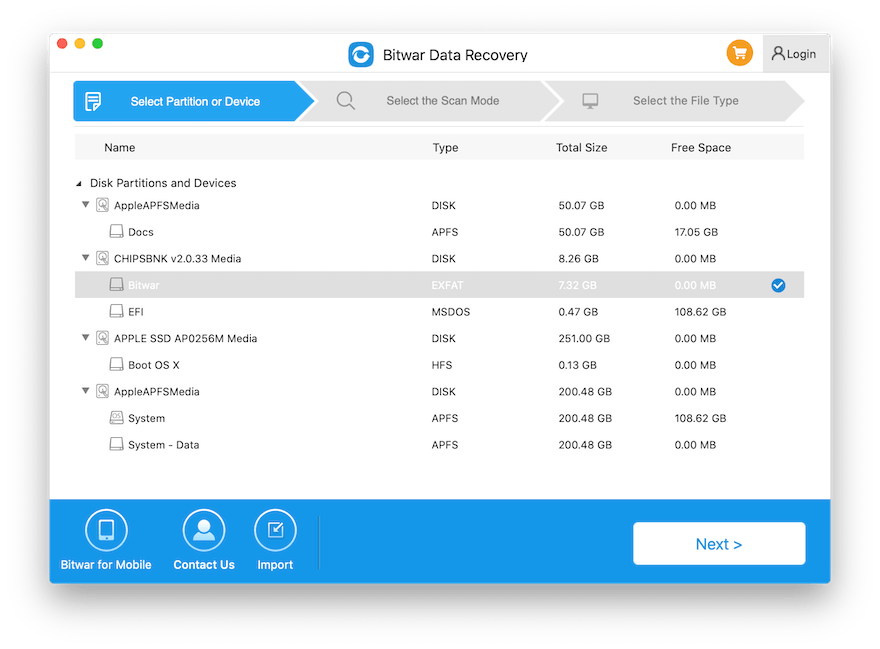
Step 2: Open the recovery tool and select the Partition of the grayed out files or folders. Then, click the Next button.
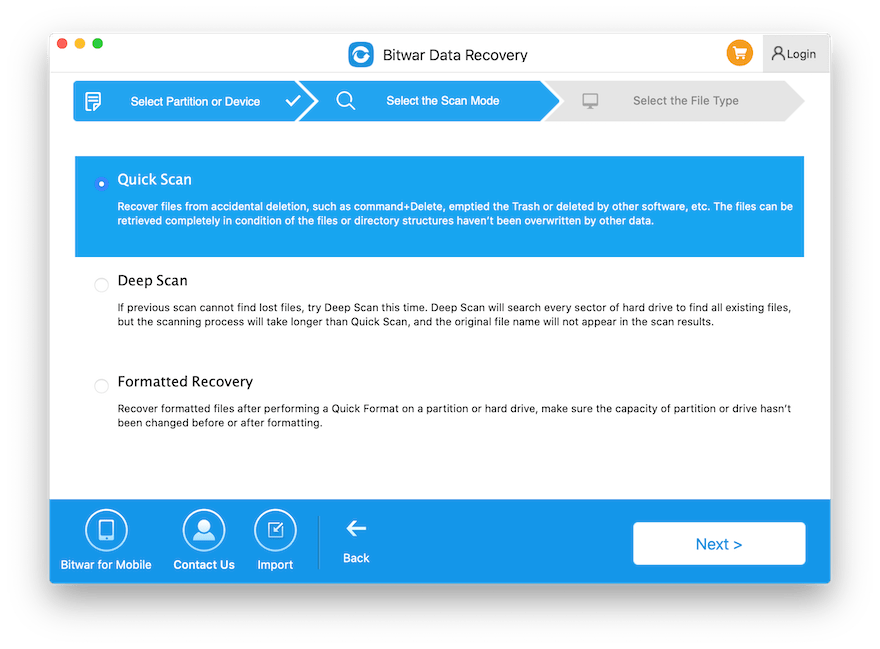
Step 3: Choose the Scan mode and continue with Next.
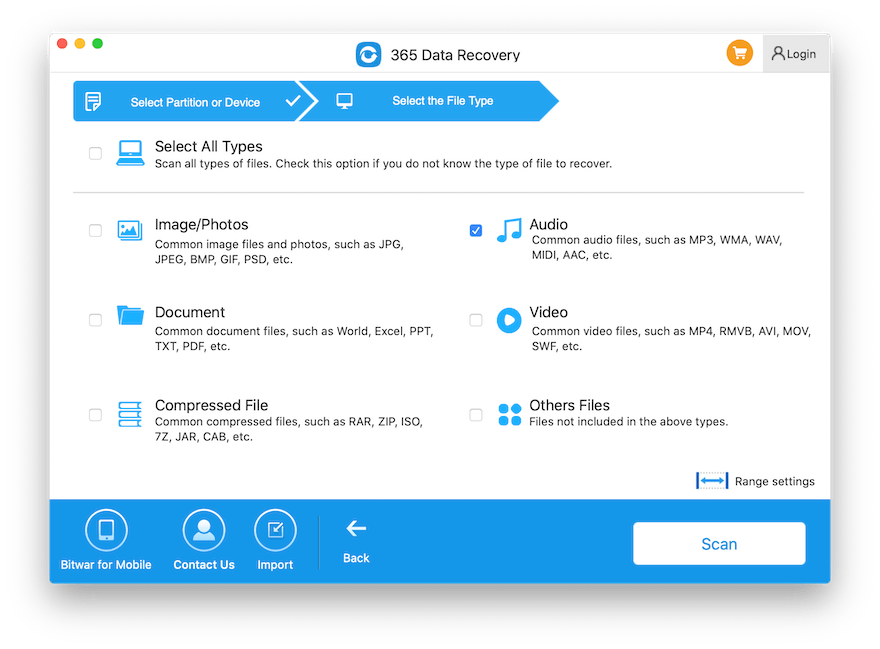
Step 4: Select the File types that you want to recover.
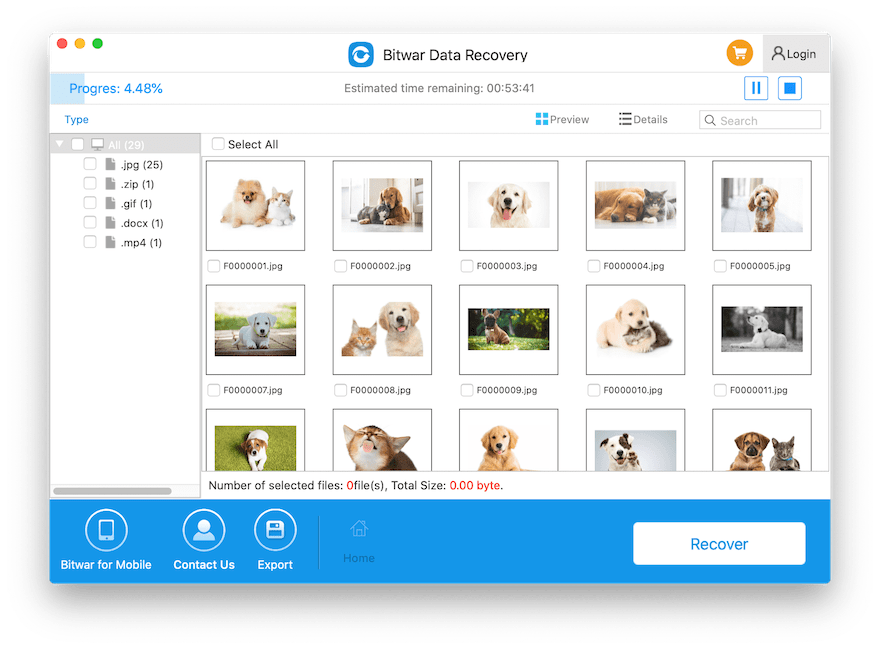
5 단계: Preview and choose the selected data you need. Lastly, tap on the 다시 덮다 button to start restoring your data.
Practical Solutions to Fix Mac Folders or Files Grayed Out Issue
Solution 1: Proceed with Xcode
The fastest way to fix the issue is to change the files’ date, but Mac users need to use Xcode from App Store to change it.
Step 1: Open the Finder app and search for the grayed files or folders with the 24 January 1984 Date error.
Step 2: Proceed to Applications and open the Terminal App.
Step 3: Type in the command: SetFile -d 17/02/2020 /Path/to/grayed-out-folder/ and press the Return.
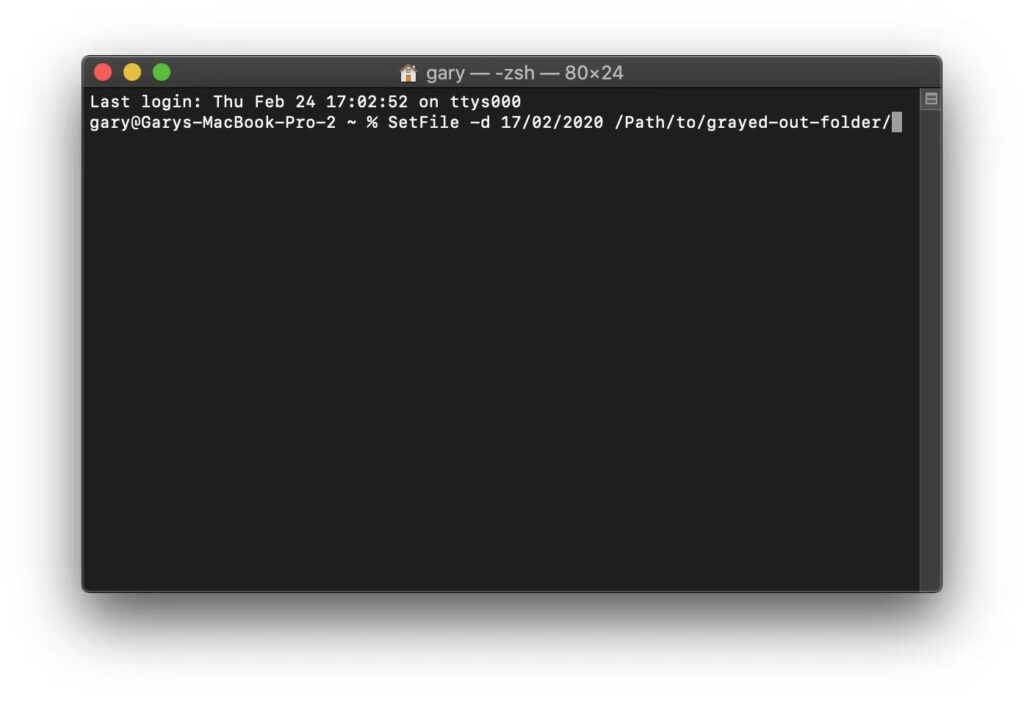
After executing the command above, the grayed-out files and folders’ date will be updated to the latest data. Besides, you can set the date and time according to your choice.
Solution 2: Note App
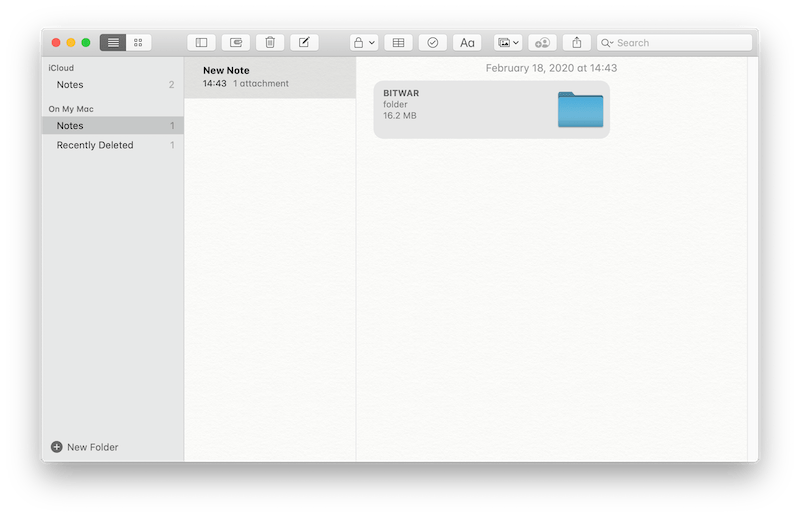
Step 1: Go to Application or Launchpad to open the Note App and choose to Create a Note.
Step 2: Go to Finder and look for the grayed-out file. Then, drag the files to the blank space of the new note.
Step 3: Please wait for a few seconds and double-click on the files. After that, you will see that your files are back to normal, and all you need is to copy the files out from the folder to a new folder.
Solution 3: Make Alias
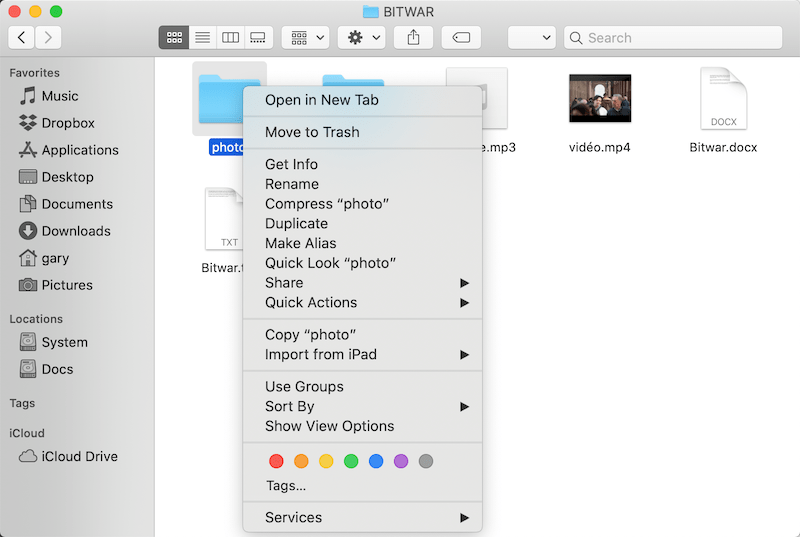
Step 1: Right-click on the files or folders which are affected.
Step 2: Click Make Alias and click on the Alias Folder.
Step 3: Copy the files from the folder to a new file location.
Sometimes, the Mac system might ask you to enter the Admin password to proceed with the operation.
Solution 4: Open Folder Directly Using Terminal App
If all of the solutions above cannot fix the folders or files grayed out issue on Mac, you can try to open the files directly by using the Terminal app.
Step 1: Open the Spotlight dialog box by Command + Space and type Terminal in the box, then click on Return.
Step 2: Type in Open in the Terminal window and click on Space; continue to drag the grayed out files or folder directly into the Terminal Window.
Step 3: Check to see the folder address has been populated with the full patch.
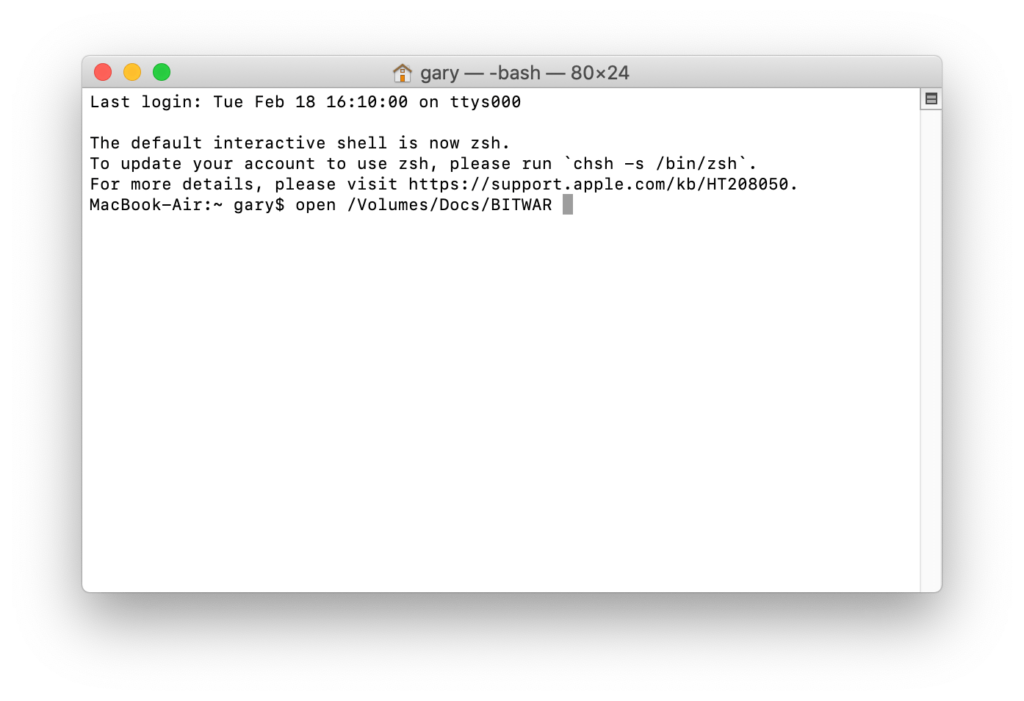
Step 4: Lastly, click on the Return, and the grayed-out files will pop out. Please transfer the files to another new file location.
Fix-it Now!
If you met with the files or folders that had turned grayed out or data is set to 24 January 1984, then all you need to do is to follow the steps given above to fix it as soon as possible. Moreover, if you are in a hurry to access the data or files, all you need is to recover the data using the Mac data recovery tool to prevent permanent data loss!
이전 기사
6 Best Ways to Fix ‘File System Check Exit Code is 8’ Error on MacOS Summary: The article below will let Mac users understand the grayed out folders or files on Mac issue and recover...다음 기사
How to Restore Data from Unmounted External Hard Drive on Mac? Summary: The article below will let Mac users understand the grayed out folders or files on Mac issue and recover...
About Bitwar Data Recovery
3 Steps to get back 500+ kinds of deleted, formatted or lost documents, photos, videos, audios, archive files from various data loss scenarios.
더 알아보기


