熟悉掃描模式

Last Updated: 2021-09-15
4.9
(12)

概要: 安裝後 Bitwar Android 檔案救援,在這裡,我們將談談恢復方法。

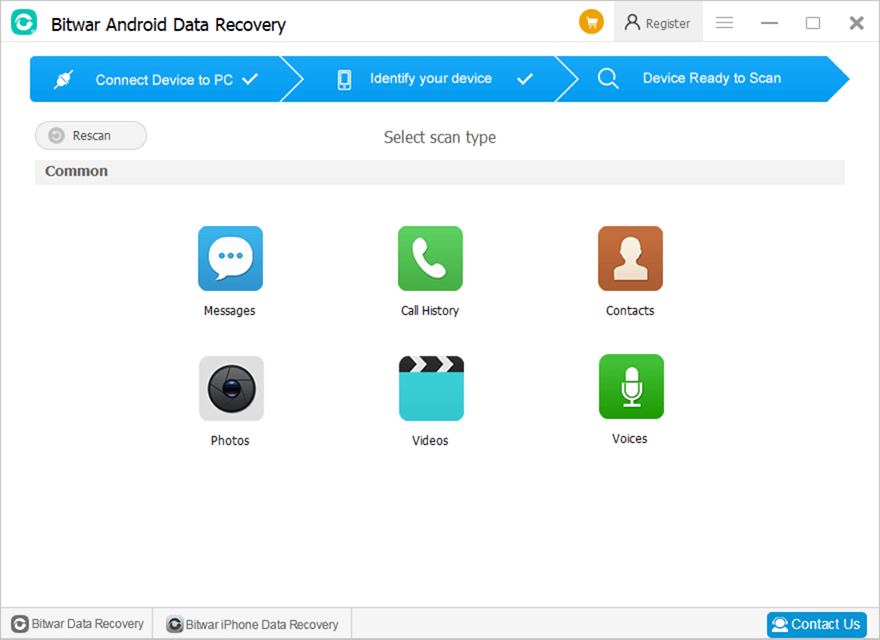
軟件成功識別Android設備後,會出現如下界面。
main-interface

上部的藍色箭頭顯示了兩個完整的階段和剩餘的一個階段。

在中心,有六種文件類型可供選擇。

消息、通話記錄和聯繫人

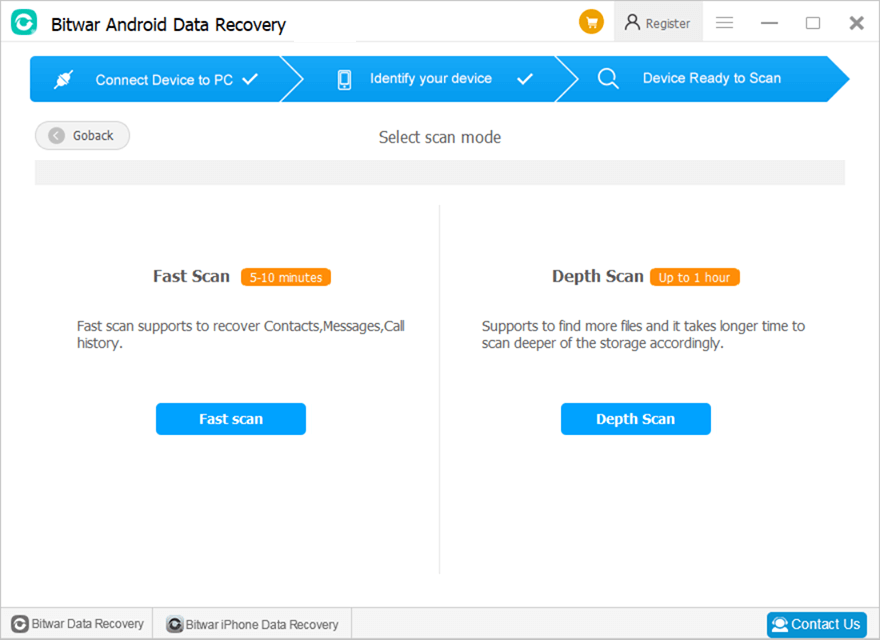
這三種類型提供兩種不同的掃描模式: Quick Scan深度掃描.

fast-or-depth-scan

Quick Scan 被推薦。如果它沒有顯示您想要的文件,請選擇 深度掃描.

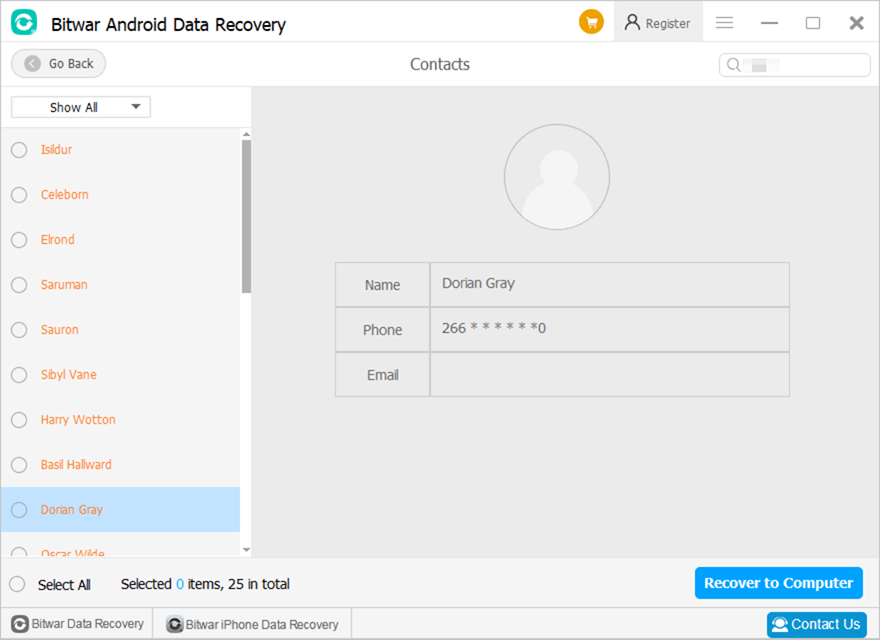
掃描完成後,軟件會顯示找到的內容,等待您的下一步操作。下圖為用戶掃描後的掃描界面 聯絡資訊.
scanning-interface

照片、視頻和聲音

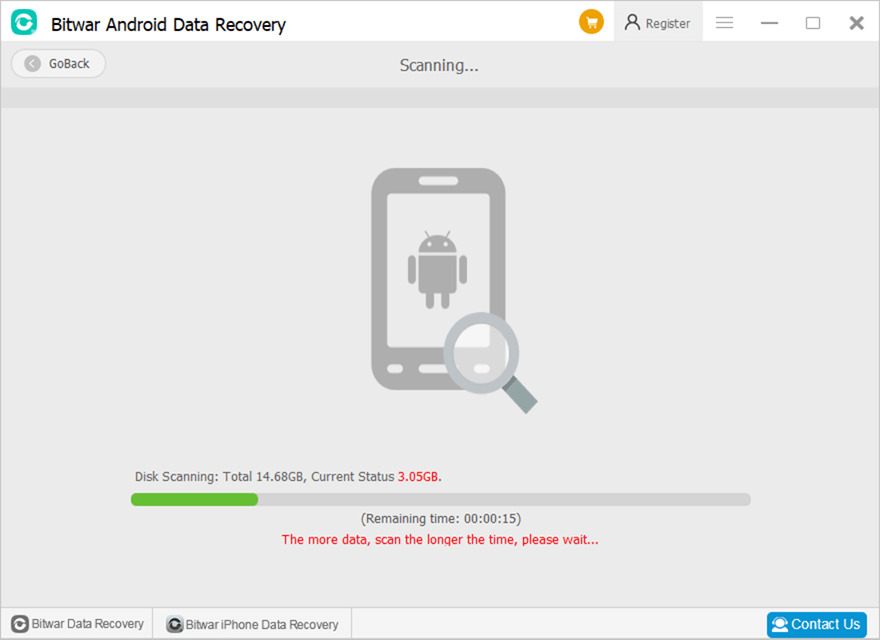
單擊三種類型之一將直接開始掃描。掃描時間因設備的存儲容量而異。
scanning

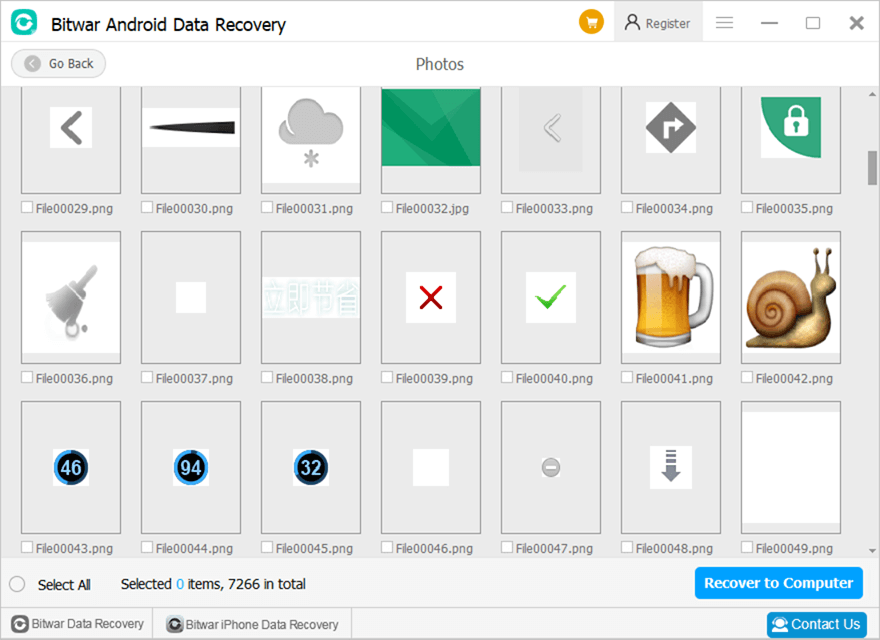
掃描完成後,軟件會呈現所發現的內容,等待您的下一步操作。下圖為用戶選擇掃描後的掃描界面 Photos.
scanning-interface

For the next step about the scanning interface, click on the link:

了解有關掃描界面的更多訊息

這篇文章有多大用處?

點擊一顆星來評價它!

平均評分 4.9 / 5. 票數: 12

目前還沒有投票!成為第一個評價這篇文章的人。

上一篇

Get Started the Bitwar Android Data Recovery Summary: After the installation of Bitwar Android Data Recovery, here, we will talk about the recovery method. After the software successfully...

下一篇

Learn More About the Scanning Interface Summary: After the installation of Bitwar Android Data Recovery, here, we will talk about the recovery method. After the software successfully...