Learn More About the Scanning Interface
Summary: In this article, we will expound on features and details about the scanning interface of Bitwar Android Data Recovery that users need to know to master the software.
Generally, there are two scanning interfaces in this software, depending on which file type users choose to scan.
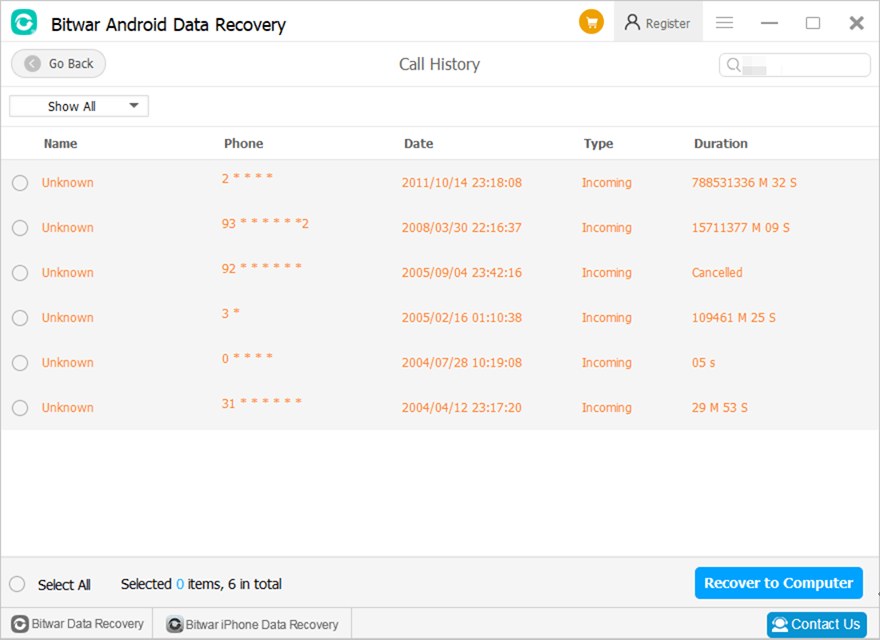
Messages, Call History and Contacts
Selecting any of the three types will lead to a scanning interface. The three scanning interfaces have similar appearances and options, as the following GIF shows.
Photos, videos, and voices
These three types are a bit different from the previous ones. Their scanning interfaces are almost identical, and besides, they allow users to preview the files found by the software, as the following GIF shows.
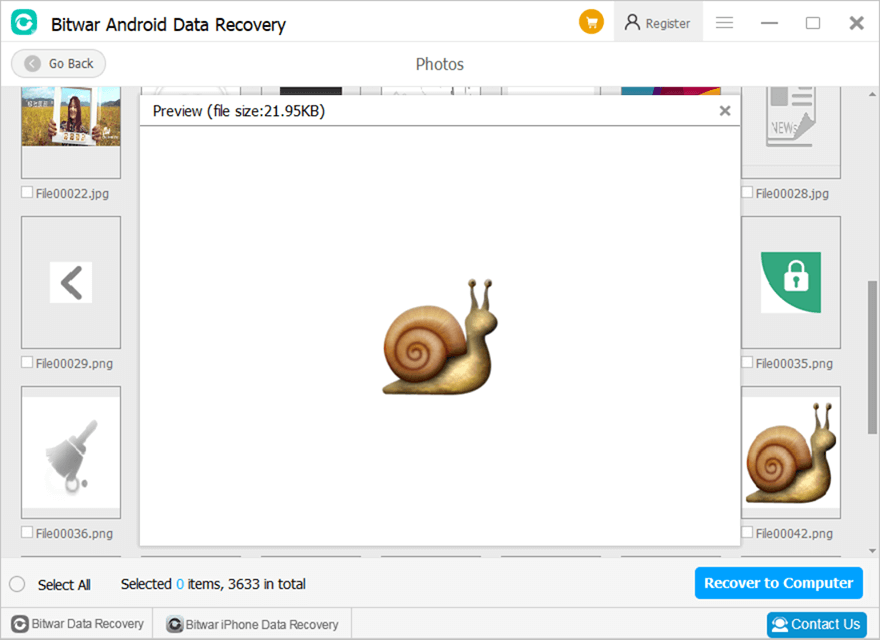
Finally, there is a Recover to Computer button at the lower-right corner. After selecting the files, you intend to recover, click on the button and choose a location. Be careful not to save the files directly on your phone because it may thoroughly overwrite the deleted files and consequently ruin the recovery.


