Get Familiar With the Scanning Modes
Summary: After the installation of Bitwar Android Data Recovery, here, we will talk about the recovery method.
After the software successfully identifies an Android device, it will present an interface, which is shown in the following image.
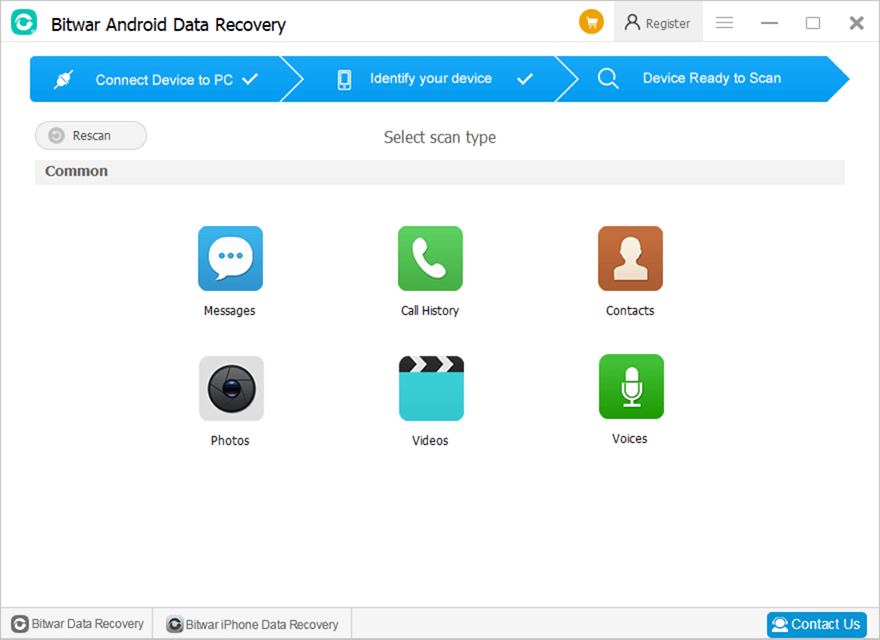
The blue arrows at the upper part show the two complete stages and the remaining one.
In the center, there are six file types available to select.
Messages, Call History, and Contacts
These three types offer two different scan modes: Quick Scan and Depth Scan.
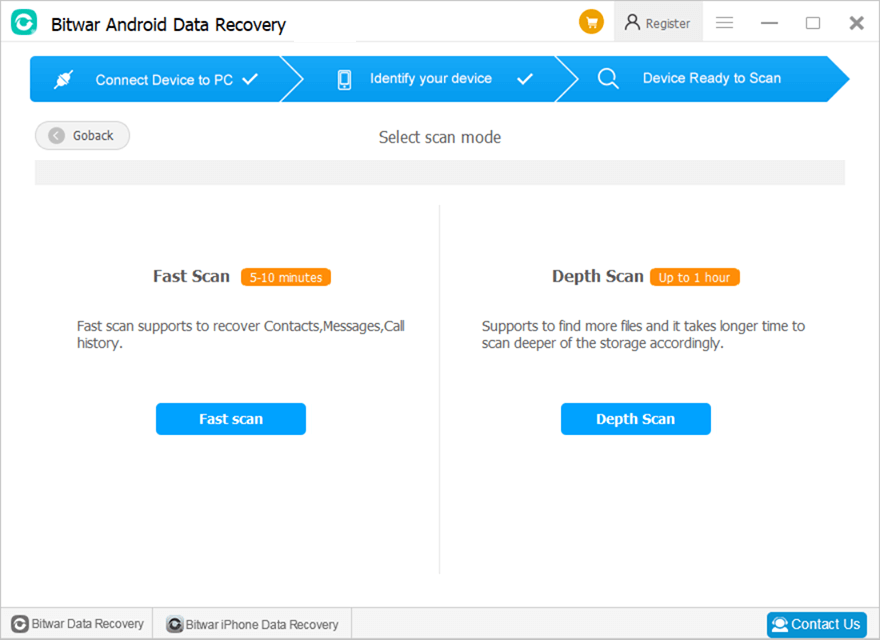
Quick Scan is recommended. If it doesn’t present the files you want, select Depth Scan.
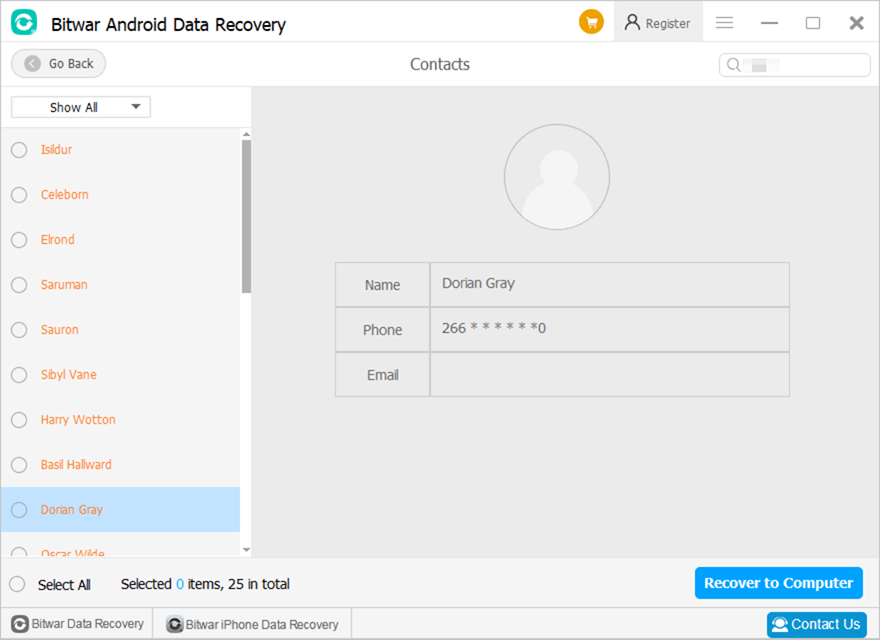
After the completion of the scanning, the software will show what it has found and wait for your next operation. The following image shows the scanning interface after users have scanned Contacts.
Photos, Videos, and Voices
Clicking one of the three types will directly start scanning. The scanning time varies depending on the storage capacity of the device.
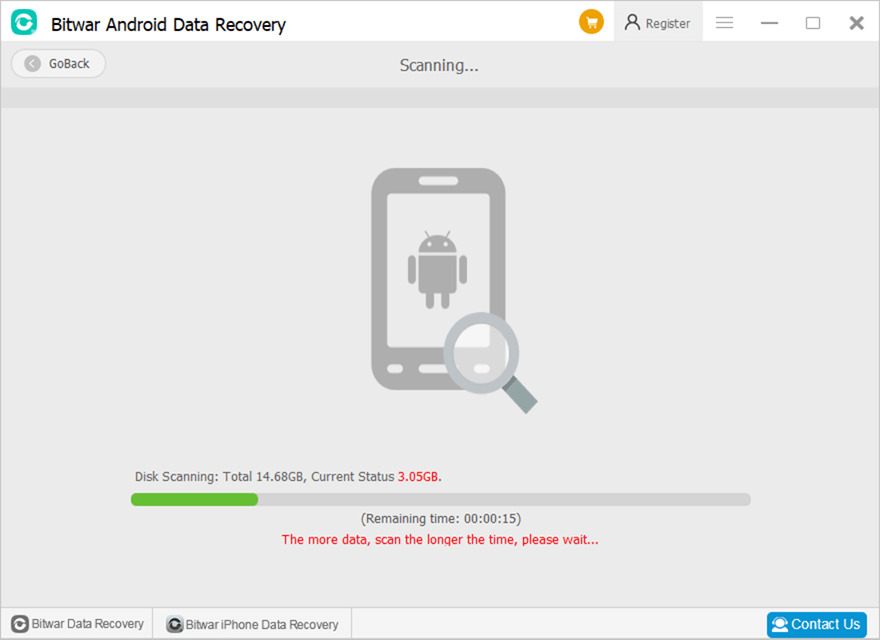
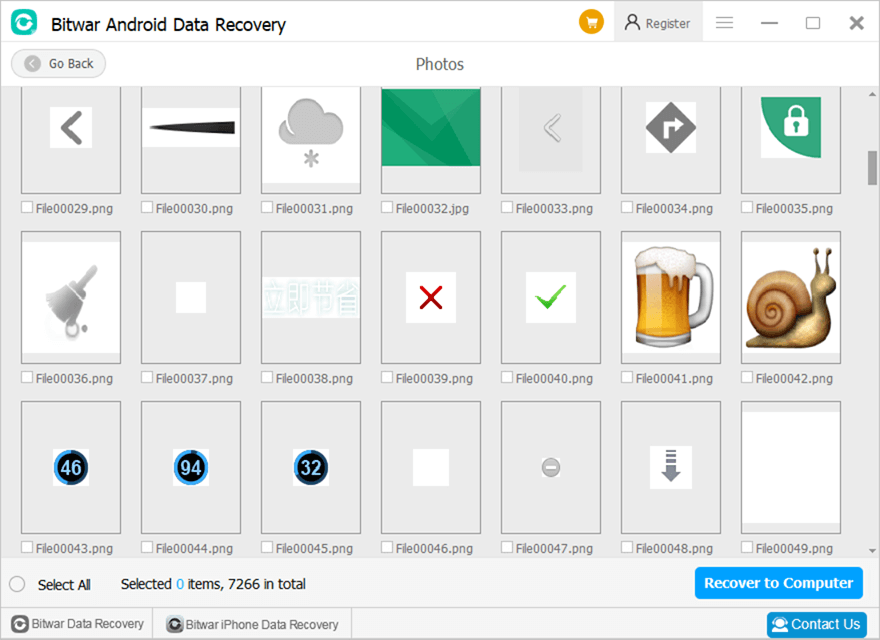
After the completion of the scanning, the software will present what it has found and wait for your next operation. The following image shows the scanning interface after users have chosen to scan Photos.
For the next step about the scanning interface, click on the link:


