Get Familiar With the Scanning Modes

最終更新日: 2021-09-15
4.9
((12)。

要約:インストール後 Bitwar Android データ復元、ここでは、リカバリ方法について説明します。

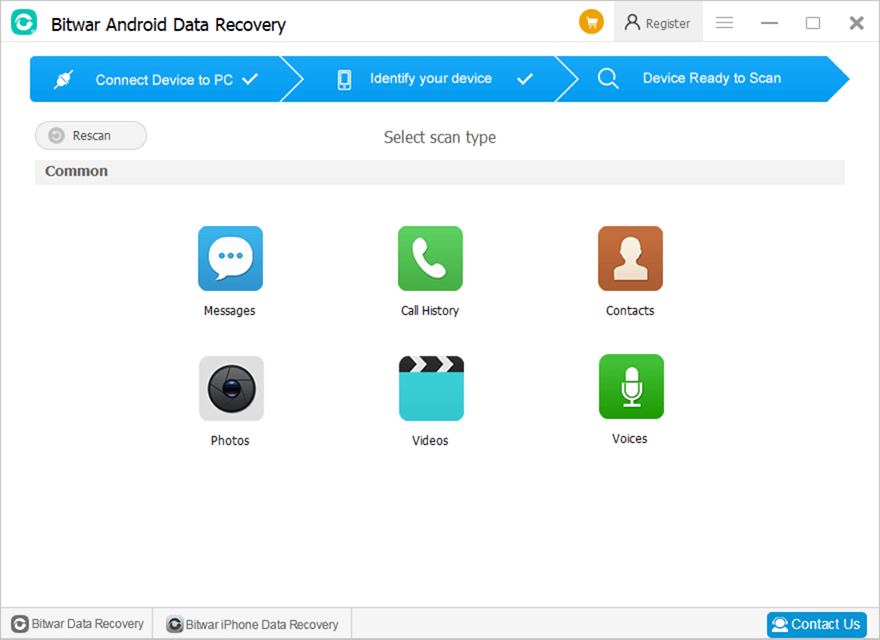
ソフトウェアがAndroidデバイスを正常に識別すると、次の画像に示すインターフェイスが表示されます。
main-interface

上部の青い矢印は、2つの完全なステージと残りのステージを示しています。

中央には、6つのファイルタイプがあります。

メッセージ、通話履歴、連絡先

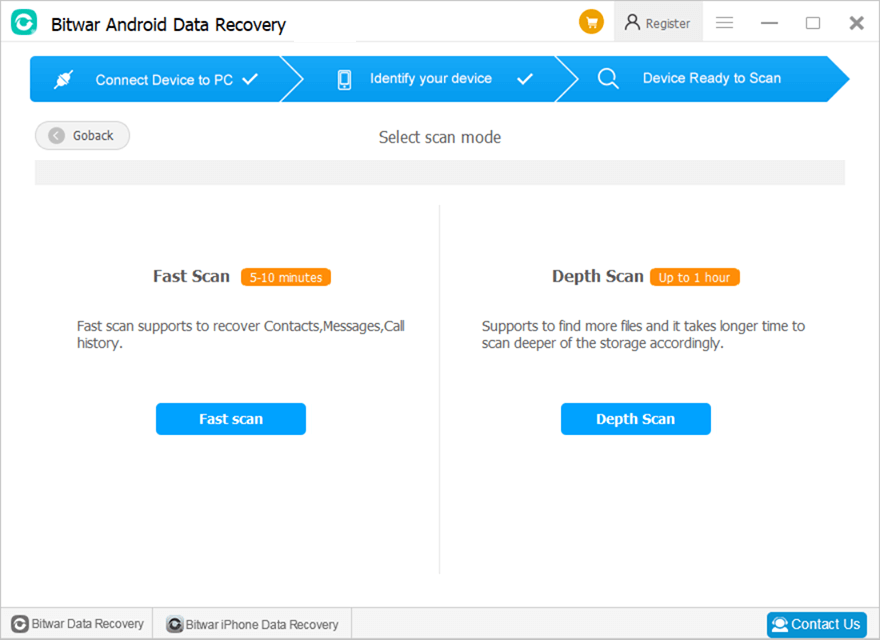
これらの3つのタイプは、2つの異なるスキャンモードを提供します。 クイックスキャン and デプススキャン.
fast-or-depth-scan

クイックスキャン がおすすめ。必要なファイルが表示されない場合は、 デプススキャン.

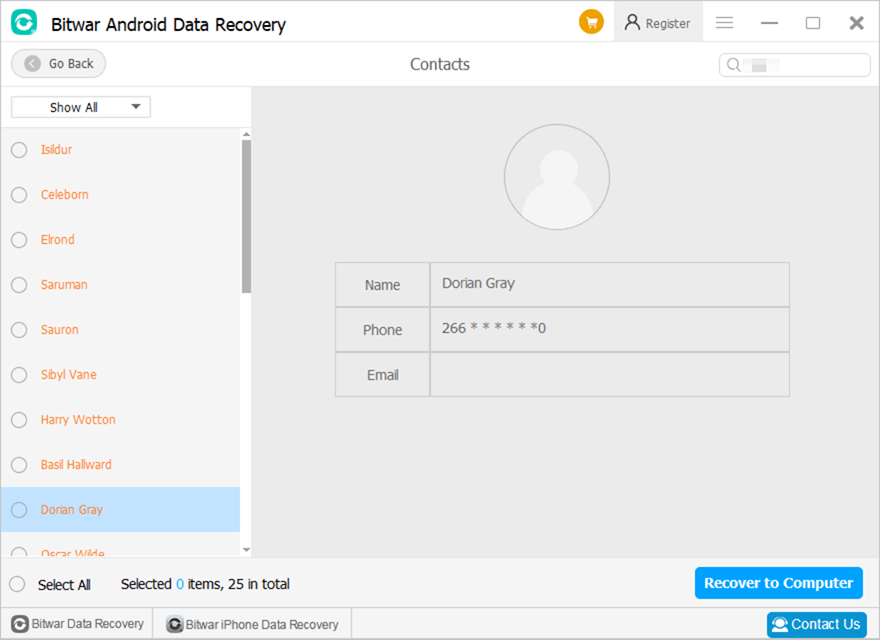
スキャンの完了後、ソフトウェアは検出したものを表示し、次の操作を待ちます。次の画像は、ユーザーがスキャンした後のスキャンインターフェイスを示しています 連絡先.
scanning-interface

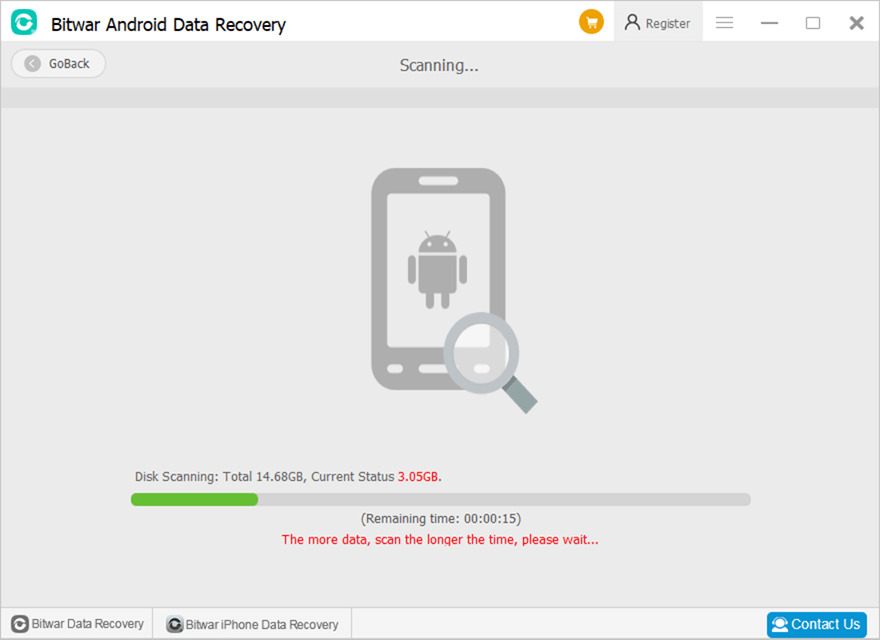
写真、ビデオ、および声

3つのタイプのいずれかをクリックすると、直接スキャンが開始されます。スキャン時間は、デバイスのストレージ容量によって異なります。
scanning

スキャンの完了後、ソフトウェアは検出したものを表示し、次の操作を待ちます。次の画像は、ユーザーがスキャンを選択した後のスキャンインターフェイスを示しています 写真.
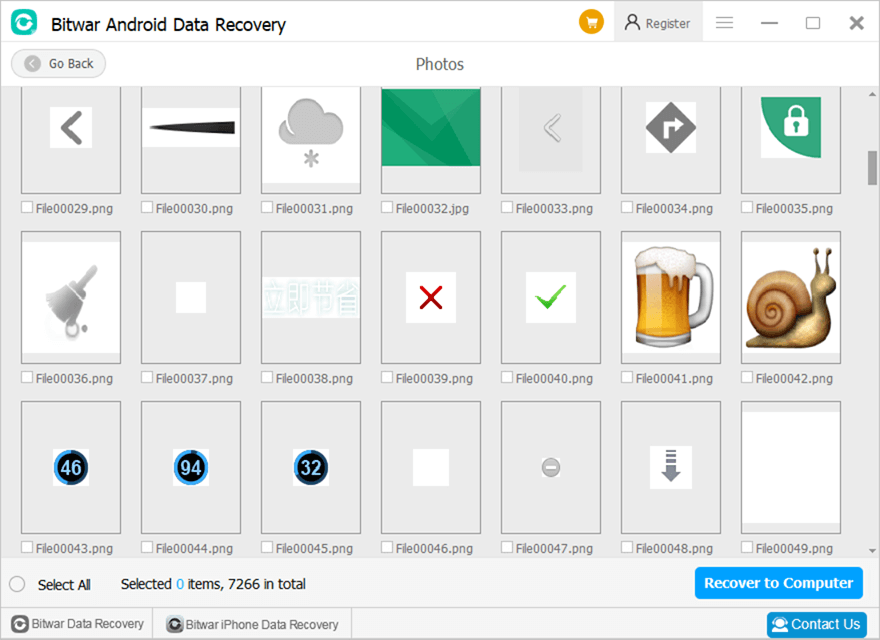
scanning-interface

For the next step about the scanning interface, click on the link:

スキャンインターフェイスの詳細をご覧ください

How useful was this post?

Click on a star to rate it!

Average rating 4.9 / 5. 投票数: 12

No votes so far! Be the first to rate this post.

前の記事

Get Started the Bitwar Android Data Recovery Summary: After the installation of Bitwar Android Data Recovery, here, we will talk about the recovery method. After the software successfully...

次の記事

Learn More About the Scanning Interface Summary: After the installation of Bitwar Android Data Recovery, here, we will talk about the recovery method. After the software successfully...

関連記事