Get familiar the Import and Export Scanned Results
Note: First of all, exporting scan results on Bitwar Data Recovery or other Data Recovery Software does not mean that you have restored the file as needed; it just simply exports the cached list of scanned files for later data recovery or continuous scanning.
For various reasons, some users may want to save the scan results and recover files the next time. Bitwar Data Recovery offers this kind of service. If you are one of them, read the following steps to learn how to do it.
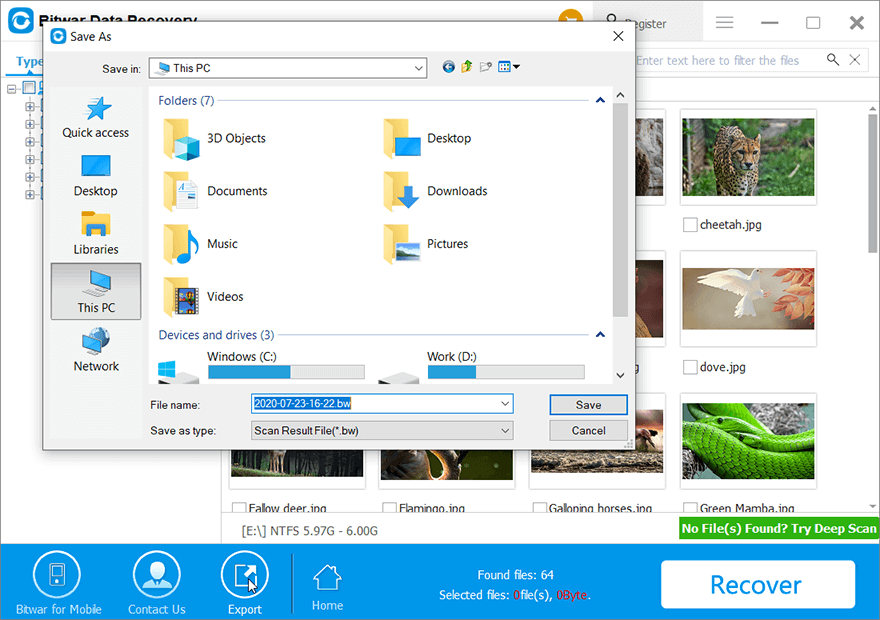
How to Export Scanned Results
On the scanning interface, if you pause the scanning process or the scanning process is complete, the Export feature is set to available for use. Click the button on the lower-left bar, and then you can save the result to a location. (Do remember the path where you store the result file)
There are also having two ways for exporting the scanned results if you mistakenly click on some buttons (Only when the scanning is complete).
- Close button: A window pops up and asks you whether to close the program or save the current scanning process.
- Home button: A window pops up and asks you whether you would like to Save the Result and Return to Home, Continue to View the Results or Return to Home directly.
Notes: As the Scanned Result is presented as only a cached list of the files, the user mustn’t reuse the storage drive, which is to prevent the lost data from overwriting by the new data. And after importing the exported file to the software, users had better check out again the previews following this way: 1. Double-click on the desired file on Details Tab. 2. Single-click on the files on Preview Tab.
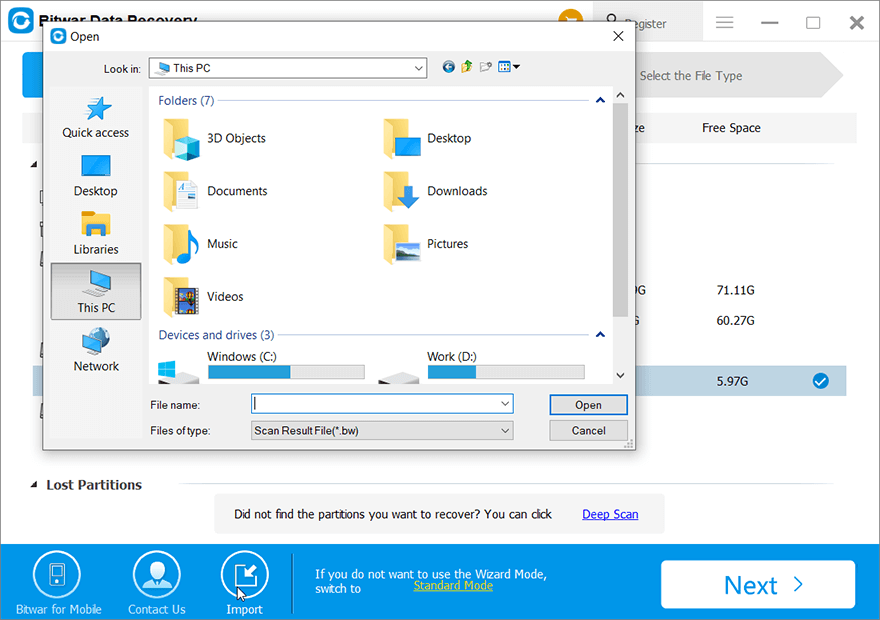
How to Import Scan Results
Step 1: Launch the program, click on the Import button on the lower-left bar on the main interface. And browse to load the saved scan results file.
Step 2: You will be redirected to the scan interface. Here, you can double-click on the desired files to preview them and then hit on the Recover button to save the files to the safe place.
If you are interested in other powerful features Bitwar Data Recovery offers, Click on the following links to learn more.


