How to Solve One of Your Disks Needs to Be Checked for Consistency
Summary: In this article, we will introduce you to some of the easiest procedures to resolve one of your disks needs to be checked for consistency issues and recover all your essential data using a reliable data recovery program.
Many Windows users face this issue when starting their computer system. The system starts normally, but all of a sudden, a black screen appears in front with the message saying that one of your disks needs to be checked for consistency. The actual message is as shown below.
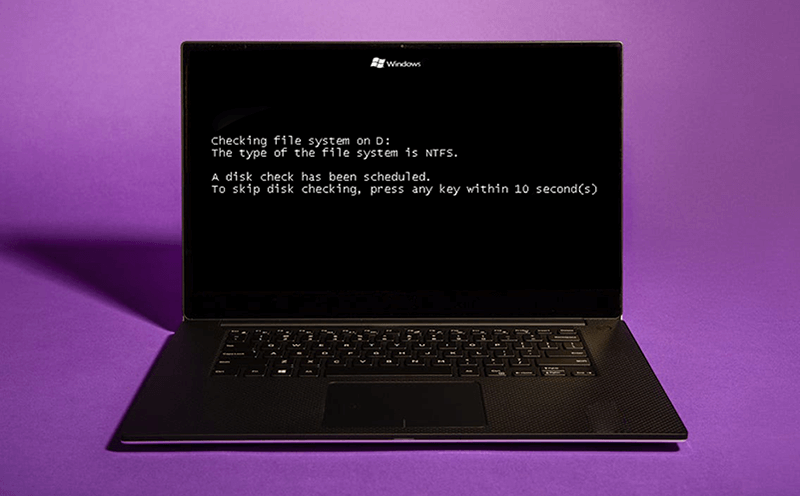
Almost all of the users chose to cancel this disk check because they had completely no idea what’s happening with the computer. However, don’t press any key while the countdown is going, or else the disk check operation will not occur. But if you reboot your computer, you will get the same error message again as your system believes that the drive needs to be checked and scanned again. If you do not press any key, the disk check will start automatically.
Table of Contents
Why Does the Issue Take Place?
Below are some of the causes of this concern:
- Improper system shutdown
- Power outage
- Improper removal of USB disk
- Operating system errors
Solutions to One of Your Disks Needs to Be Checked for Consistency
Solution 1: Run CHKDSK
It’s always recommended that when you encounter the error message asking you to allow the disk check, you should not skip it. But if the process is skipped, users can choose a manual disk check by running CHKDSK from an Elevated Command Prompt, which is an elevated version of the command prompt and grants users full rights. Use the following steps to do so.
Step 1: Press Win + R to open the Run box.
Step 2: Type in CMD and press CTRL + Shift + Enter to open an Elevated Command Prompt.
Step 3: Inside the new window, type in the following command and press Enter.
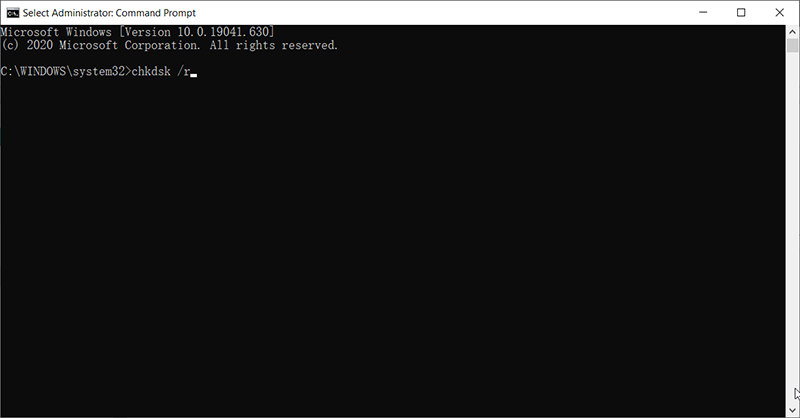
Step 4: Wait for the process to finish and reboot the computer.
Solution 2: Test the Hard Drive With the Diagnostic Tool
It’s reported that the disk check might fail to tackle certain hard drive problems. Hence, if the preceding solution doesn’t work, you can download and install the diagnostic tool offered by the manufacturer of your hard drive.
Step 1: Go to the manufacturer’s website of your hard drive to look for the diagnostic tool. On finding the diagnostic tool, perform a thorough scan of your disk.
Step 2: Now, run this tool from your system and right-click on the disk, which is to be tested, followed by choosing the option “Verify or Repair Bad Sectors”.
Step 3: After this, click on the start Verify button to start scanning for the bad sectors.
Solution 3: Disable Automatic Disk Check via Registry Editor
Generally, if the disk checking is complete and your computer reboots in a perfect state, the error message shouldn’t pop up again. However, if it does happen again and you are sure that your disk is perfectly healthy, you can disable the automatic disk check option via Registry Editor.
Before applying this solution, it’s recommended to create a backup of the registry in case anything goes wrong. Any deviation from the suggested steps can modify the registry incorrectly. Follow the below steps to prevent making any errors.
Step 1: Press Windows + Q, type in Registry Editor, right-click it, and select Run As Administrator.
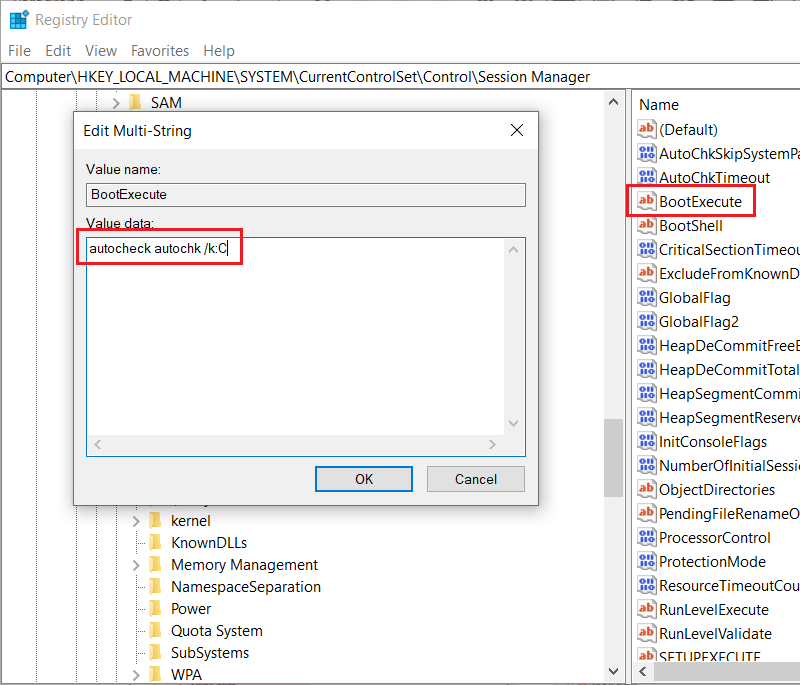
Step 2: Now, expand the following keys on the left side of the registry:
Step 3: On the right panel, find BootExecute and double-click on it. After this, you will see the default value of autocheck is set as autochk*. This implies that all the drives have been checked for consistency. To disable this auto-check, you need to change the value to “autocheck autochk /k:C”.
Solution 4: Run Fsutil Dirty Query Command
Though this solution may not be used as widely and frequently as those previous ones, some users have reported that they fixed one of your disks needs to be checked for consistency error by running the command. Fsutil.exe is a utility that helps users manage the settings of several file systems on Windows operation systems. Refer to the following steps to learn how to use it.
Step 1: Right-click on the Start Menu button and then select Command Prompt (Admin).
Step 2: Type in the following command and then press Enter. (Replace the letter X with the problematic drive letter of your computer.)

Step 3: If the window shows that the disk drive is dirty. Type in the following command: chkdsk X: /f /x and press enter. Remember to replace the letter X.
Step 4: If the prompt shows the disk drive is not dirty, you can simply close the Command Prompt.
Solution 5: Use Disk Defragment
Disk Defragment, one of those powerful built-in tools offered by Windows, is used by many users to garner and reorganize related but scattered data so that they can be put together in a continuous way that frees up drive space. It’s said that this method has addressed one of your disks needs to be checked for consistency issues.
Step 1: Press Win + E to open File Explorer.
Step 2: Right-click on the faulty drive and then select Properties.
Step 3: Switch to the Tools tab and then click on the Optimize button.
Step 4: Select the drive you want to optimize in the Optimize Drives window.
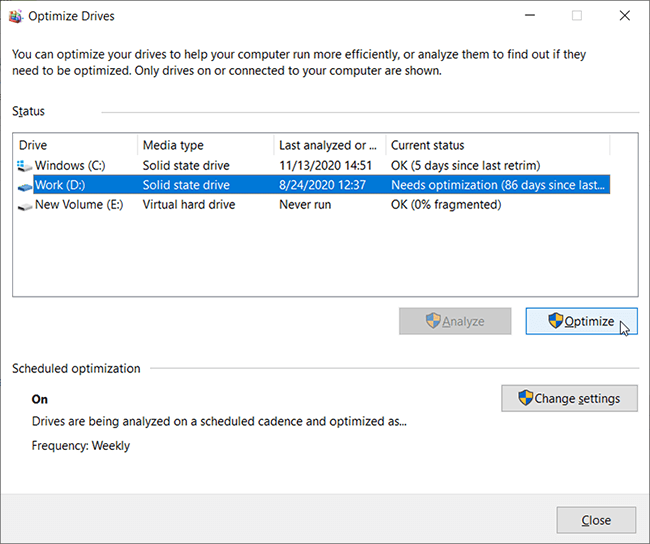
Step 5: Click on the Optimize button.
Solution 6: Format
Formatting is an effective way to repair a drive, but the result is costly. The entire data on the drive will be wiped out. So, before you use this solution, you should transfer your files on the faulty drive to other safe disks.
Step 1: Press Win + E to open the File Explorer.
Step 2: Right-click on the faulty drive and then choose Format.
Step 3: Select a file system and then click on Start.
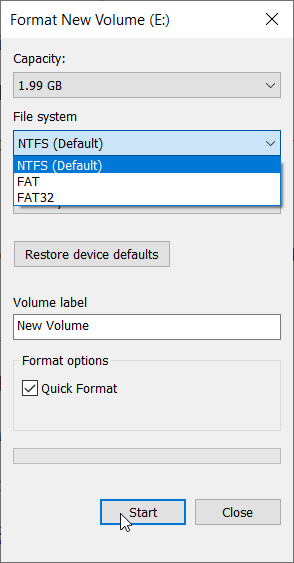
Step 4: Click on Yes in the warning message box.
Recover Data Using Bitwar Data Recovery
If the disk check happens to inadvertently delete some important files, you may need a reliable data recovery tool to help you rescue them. We suggest using Bitwar Data Recovery software as it is capable of recovering any data such as images, videos, audios, excels, and doc, etc. from any internal, external storage devices, USB flash drives, SD memory cards and so on.
Step 1: Download the Bitwar Data Recovery tool from the official website.
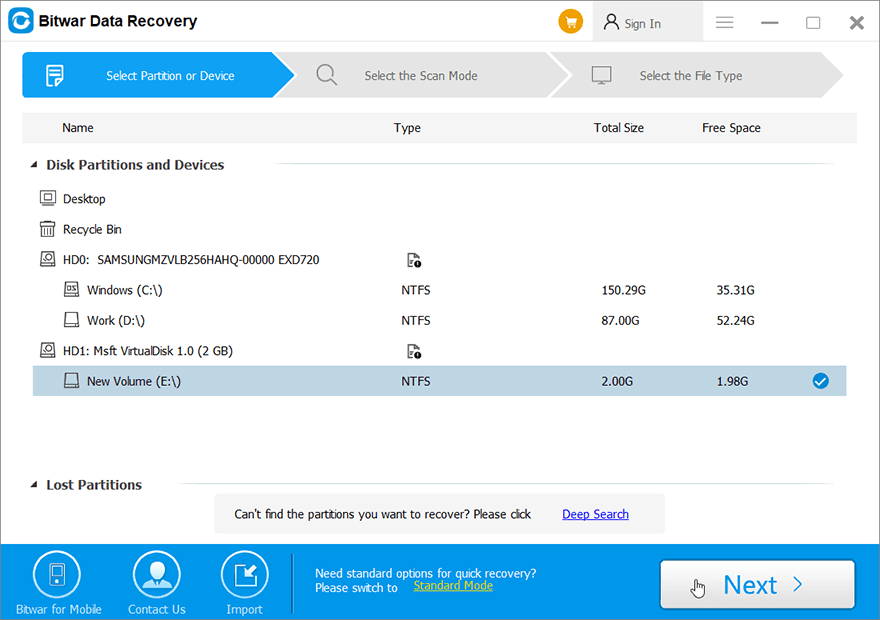
Step 2: Then, launch the recovery software, select the drive from where you want to recover data, and then press on the Next button.
Step 3: Now, select the scan mode. We recommend Quick Scan, in which the whole disk can be scanned in a few minutes. However, if this scan mode doesn’t work on the drive, you can try Deep Scan next time.

Step 4: After this, select the file types you wish to recover and then press the Next button.

Step 5: Now, preview all the selected files/data.
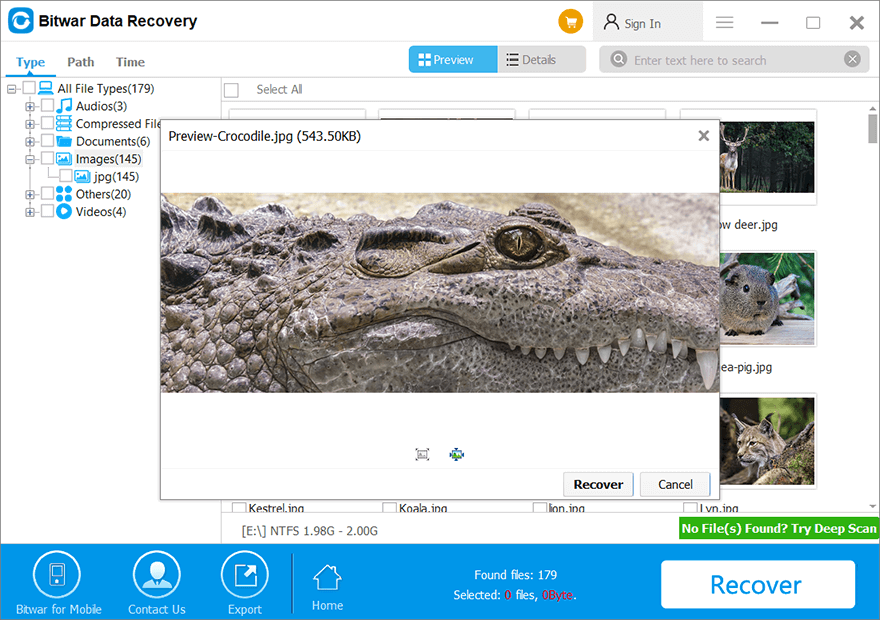
Step 6: At last, click on the “Recover” button to initiate the data recovery process.
Conclusion:
One of your disks needs to be checked for consistency issues don’t allow you to access your system, and as a result, a black screen appears in front of you. This issue would not go away until you fix it. Some reasons for this issue are unsafe removal of the drive, power outage, and problems with the operating system.
The solutions laid out in this article should help you resolve this problem. However, applying these solutions may lead to data loss. Therefore, it is recommended to recover all your data using Bitwar Data Recovery software as it is easy to use, quick, and offers 100% clean recovery results.
Previous Article
Quick Fix ‘This Device Is Currently in Use’ & Safely Ejecting Tips Summary: In this article, we will introduce you to some of the easiest procedures to resolve one of your disks...Next Article
[SOLVED] Windows Stop Code Kernel Data Inpage Error Summary: In this article, we will introduce you to some of the easiest procedures to resolve one of your disks...
About Bitwar Data Recovery
3 Steps to get back 500+ kinds of deleted, formatted or lost documents, photos, videos, audios, archive files from various data loss scenarios.
Learn More


