How to Prevent Trash Deleting Files Immediately on Mac?
Summary: The content below will show users how to prevent trash deleting files immediately on Mac and recover the deleted files by using the best Bitwar Data Recovery for Mac!
Most Mac users will face the issue their Mac device will delete the files immediately without going to their trash. This can cause many users to lose their important files on Mac easily. Therefore, there is a way to stop trash from deleting files immediately on Mac but first, it is important for you to recover the deleted data quickly by using Mac data recovery software!
So follow us below as we will let you understand more about the issue and then recover the deleted file by using Bitwar Data Recovery Software for Mac, followed by the efficient step to prevent trash deleting files immediately on Mac!
Table of Contents
Understand The Trash Deleting Files Immediately on Mac Issue
First of all, the issue is a very common problem that many Mac users faced where we will show you a similar situation that is faced by one of our Mac users:
After reading this, we all know that the latest Mac OS X has equipped with the latest feature where deleted files or folders can trespass that trash can get deleted immediately without restoring. This feature is efficient but also brings trouble to some Mac users where they may accidentally delete the wrong files from their Mac device.
Possible Cause of Issue
The main reason for the issue to happen is because the file permission linked to your trash bin is out of whack by restricting the macOS X to add or edit new files into the trash bin.
So the only way to prevent the stop trash from deleting files immediately on Mac issue is to execute a specific command in the Terminal command but before you execute it, it is urgent for you to recover the deleted data first before it is too late to restore them back again on your Mac.
Recover Deleted Files with Mac Data Recovery Tool
We will show you the most efficient and dynamic recovery tool to recover the deleted data which is Bitwar Data Recovery Software for Mac! It is can deliver a full recovery process without causing any harm or damage to your Mac device.
Besides, it is able to retrieve many types of file formats such as videos, audios, images, documents, and others from any internal or external devices like SD card, USB flash drive, external hard drive, etc. So follow the provided steps below to recover the deleted files now!
Now, as we have successfully got back the deleted files, we can continue to stop trash deleting files immediately on Mac using the mac internal utility tool: Terminal. I’ll attach the screenshots for you to help knowing better the solutions.
Follow the given simple steps below to restore your accidental deleted files:
Step 1: Please proceed to the Bitwarsoft Download Center to download and install the Mac recovery tool.
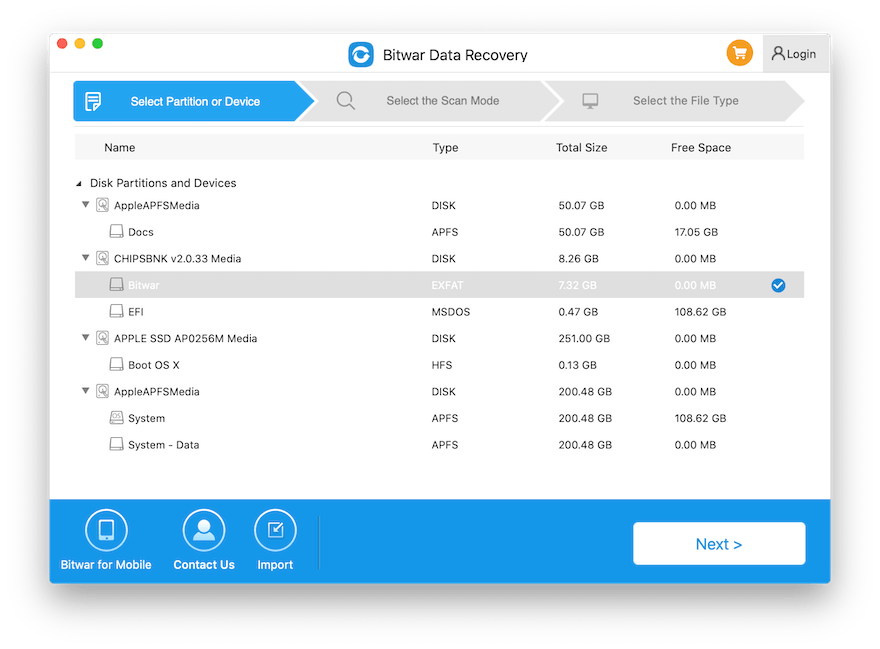
Step 2: After installation is complete, open the software and select the drive or partition where the files are deleted continue with the Next button.
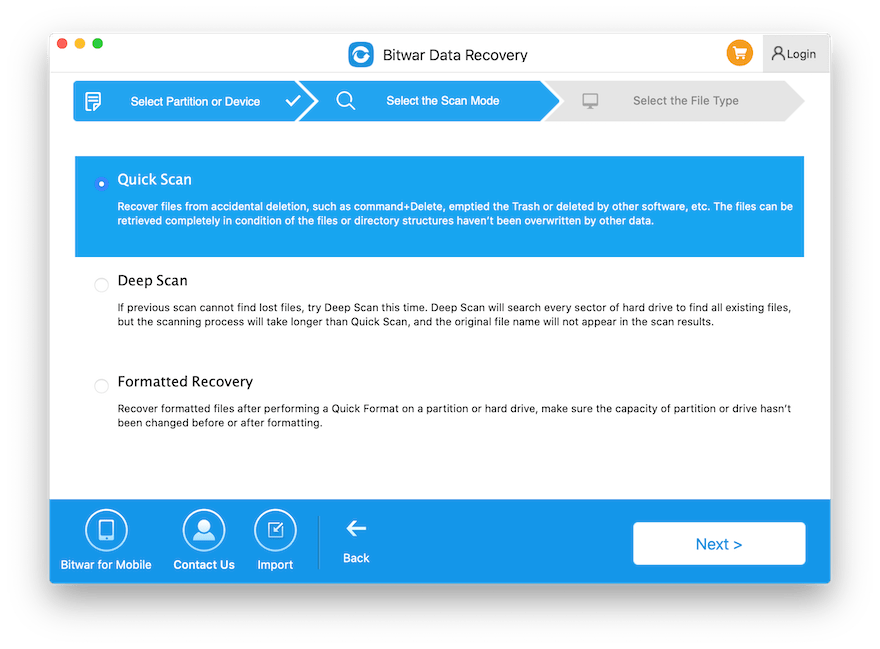
Step 3: Choose the Scan mode and click the Next button again.
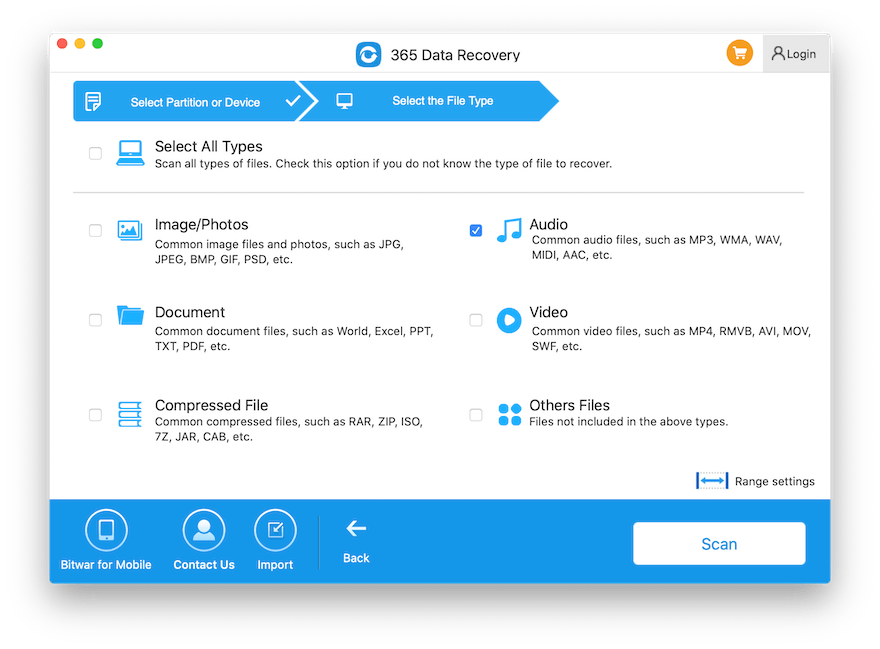
Step 4: Choose the File types that you need to recover and tap the Next button to proceed.
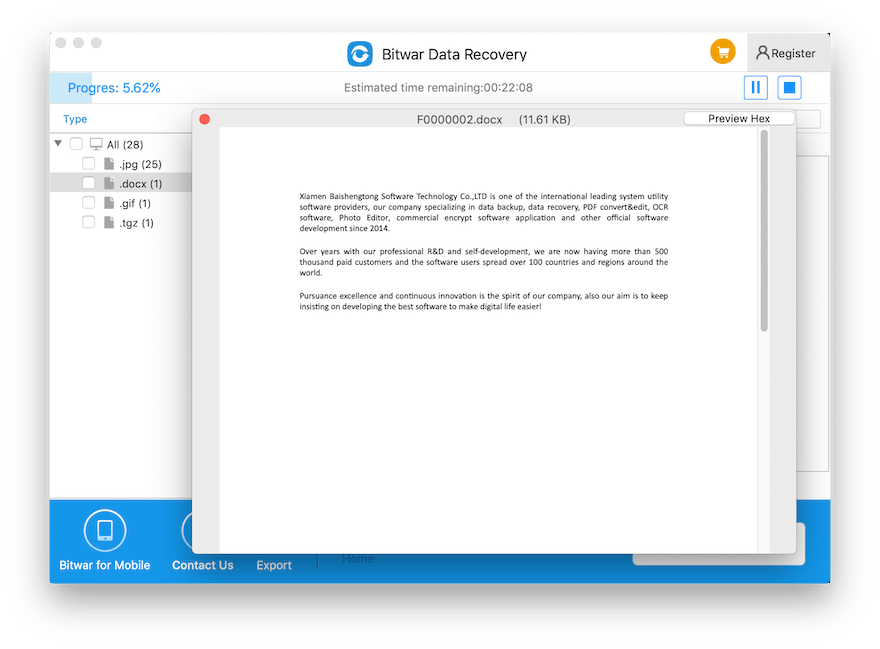
Step 5: Preview all the scan results and choose the files that you want to recover. Then, click the Recover button to perform the recovery.
Efficient Way to Stop Trash Deleting Files immediately on Mac
After you had recovered the deleted files, then you can proceed with the Terminal command but make sure to be very cautious and careful when executing the command because it may also lead to accidental file deletion on your Mac system.
Therefore it is very important that you back up the file first before executing the Terminal command or you can create a data backup by using the Time machine.
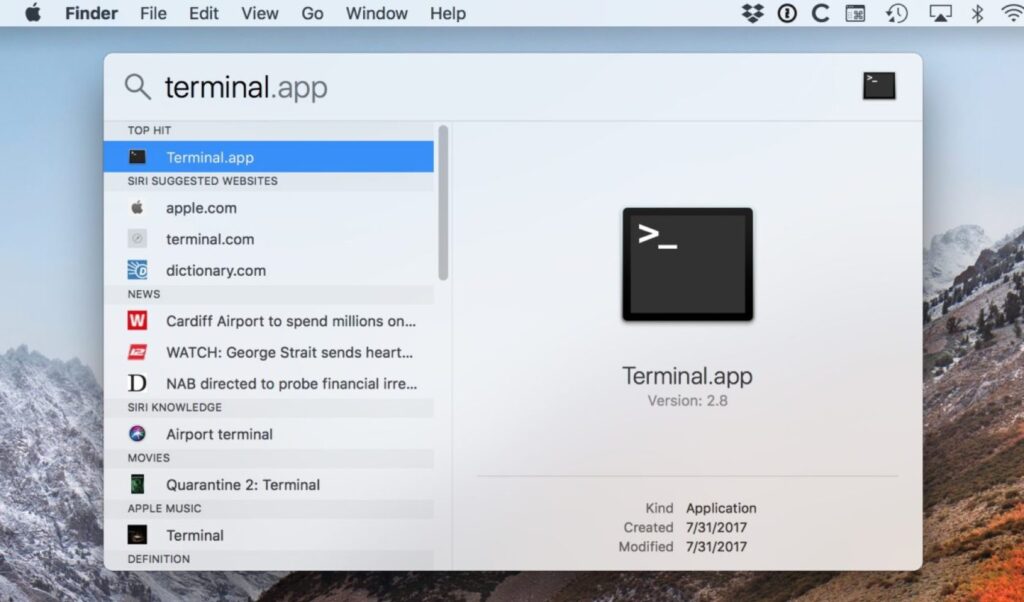
Step 1: Launch the Launchpad and go to Terminal or you can press Command + Space to open Spotlight. Then, type in Terminal to launch it.
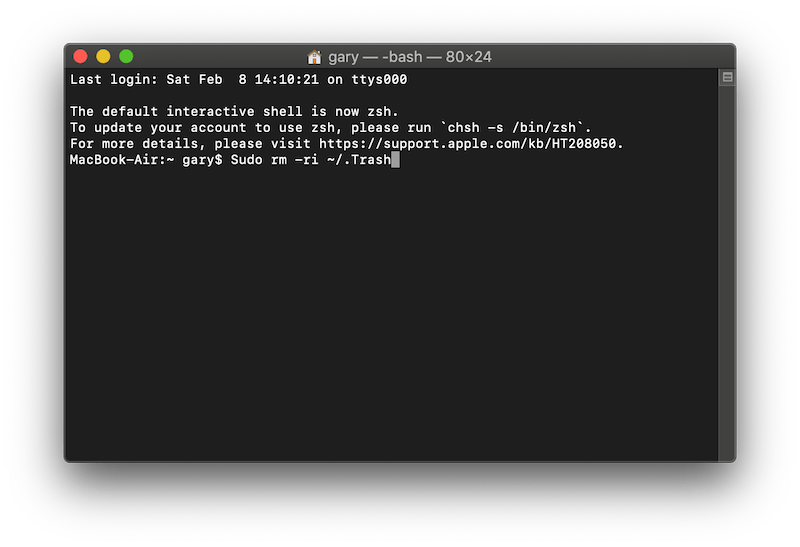
Step 2: Type in the command: Sudo rm -ri ~/.Trash and hit on Return. Sometimes, before you can execute any command, you will need to enter your account’s password first. Then, you will be asked to examine any of the files or folders in the trash, followed by the trash folder too. All you need is to type Yes and press Return to every prompt that comes out.
Step 3: Lastly, please sign out of your macOS X account and sign in again.
Extra Tip!
Suppose that you are faced with the Trash automatically emptying the files after a period of time or showing no message: Are you sure you want to permanently erase the items in the Trash?
Then, you can follow the other steps below to fix it easily!
![]()
No Empty Files Warning Sign:
Go to your desktop and click Finder > Preference > Advanced Settings > Show warning before emptying the Trash > Check to finish the job.
Trash Automatically Empty Files Issue:
For this situation, all you need is to uncheck the option: Remove the items from the Trash after 30 days at the Advanced setting.
Fix it Now!
It is always troublesome when it comes to the system issue on Mac which includes the stop trash deleting files immediately on Mac issue. So make sure you remember to give the file permission to the trash bin as the terminal command given above. Then, you also need to use the Mac data recovery tool mentioned above, to recover the accidentally deleted files on your Mac to prevent any data loss.
Previous Article
How to Restore Data from Unmounted External Hard Drive on Mac? Summary: The content below will show users how to prevent trash deleting files immediately on Mac and recover the deleted...Next Article
How to Continue Data Recovery from the Last Breakpoint? Summary: The content below will show users how to prevent trash deleting files immediately on Mac and recover the deleted...
About Bitwar Data Recovery
3 Steps to get back 500+ kinds of deleted, formatted or lost documents, photos, videos, audios, archive files from various data loss scenarios.
Learn More


