How to Recover Lost Data Using Bitwar Data Recovery
Summary: For users who want to know a general way to recover files using Bitwar Data Recovery, this article will serve you well, and in addition to that, it provides data types previewing screenshots that help learn better of the Preview feature.
Ever encountering the documents were deleted in an accident, or you might have used the Shift+delete key to erase the files permanently without sending them to the recycle bin?
Indeed, there are many data loss scenarios we have seen during these years, however, no matter how you lose the data or what kind of storage device is, if you still can see the storage device in Disk Management, then Bitwar Data Recovery is always a good option for you to perform quick data recovery.
Table of Contents
How to Recover Lost Data Using Bitwar Data Recovery?
Step 1: After installing the Bitwar Data Recovery. Please launch the Bitwar Data Recovery.
Step 2: Choose a recovery mode, e.g., Here we choose the Wizard Mode to give an example.
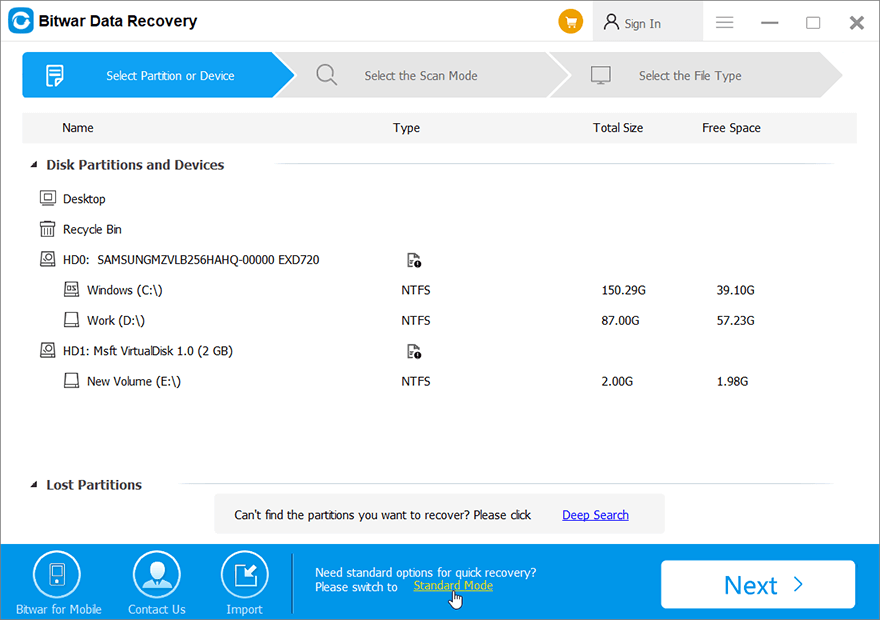
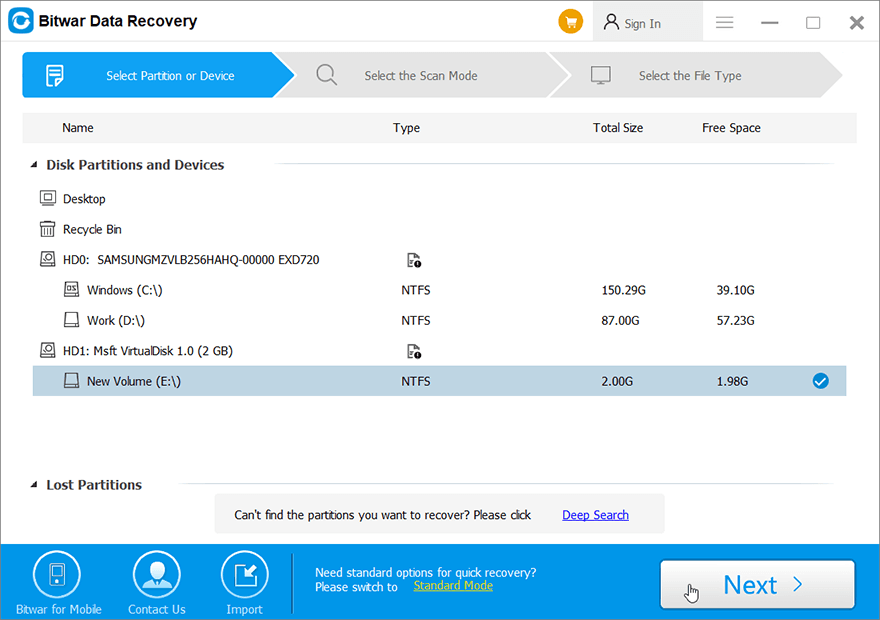
Step 3: Check off the drive/partition in which your lost files were deleted/formatted. Click on Next.
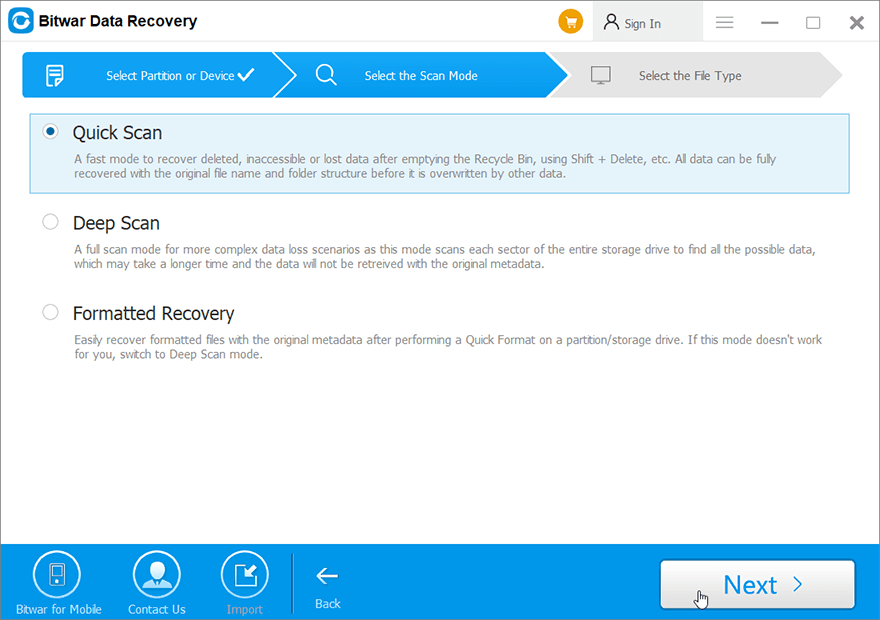
Step 4: Check off Quick Scan. Click on Next. For more information about the Scanning mode, please refer to Choose a recovery mode.
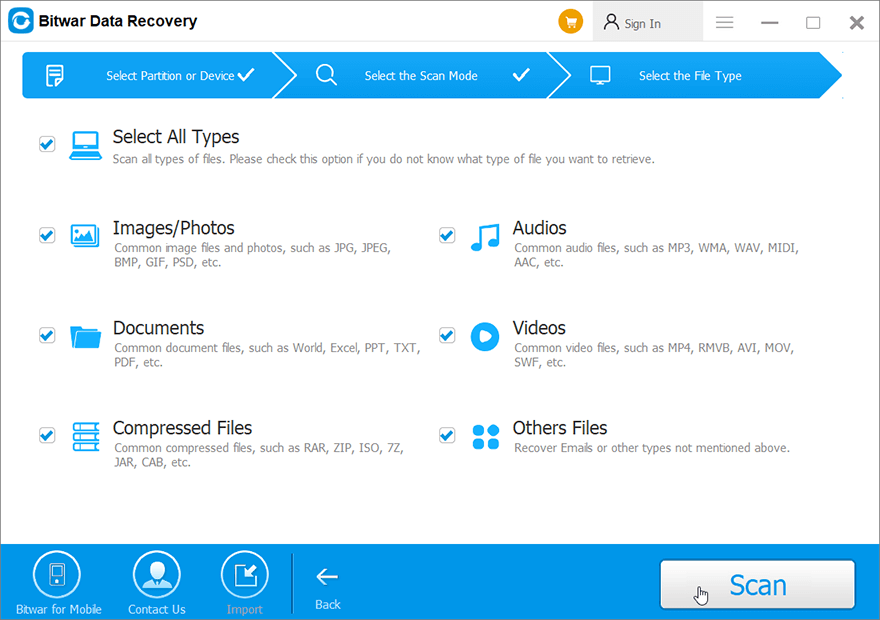
Step 5: Check off Select All Types. Click on Scan. Note: Select only the Images/Photos or other single or multiple data types that will help shorten the scan time.
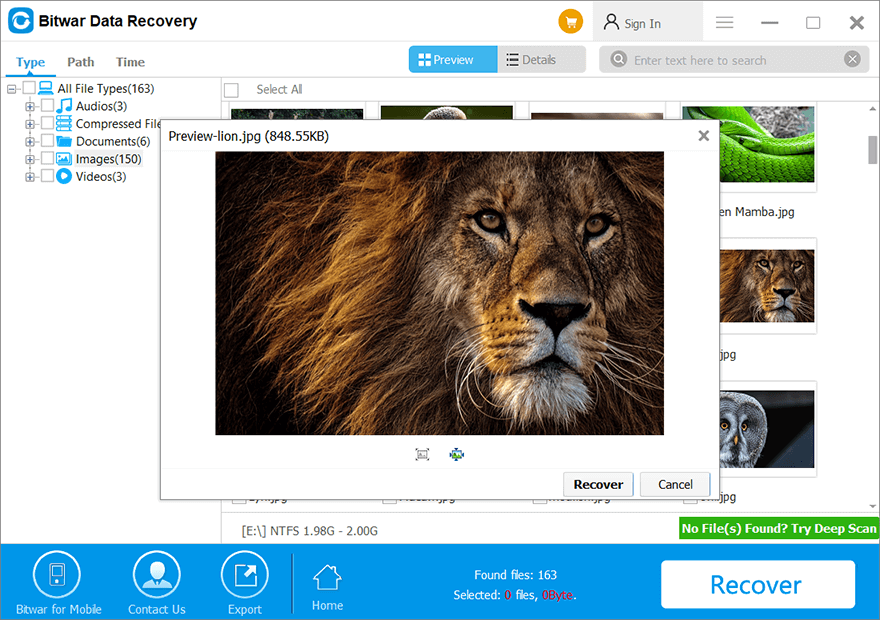
Step 6: Click on the desired types on the left panel to filter the files, and then click on the needed file to Preview it.
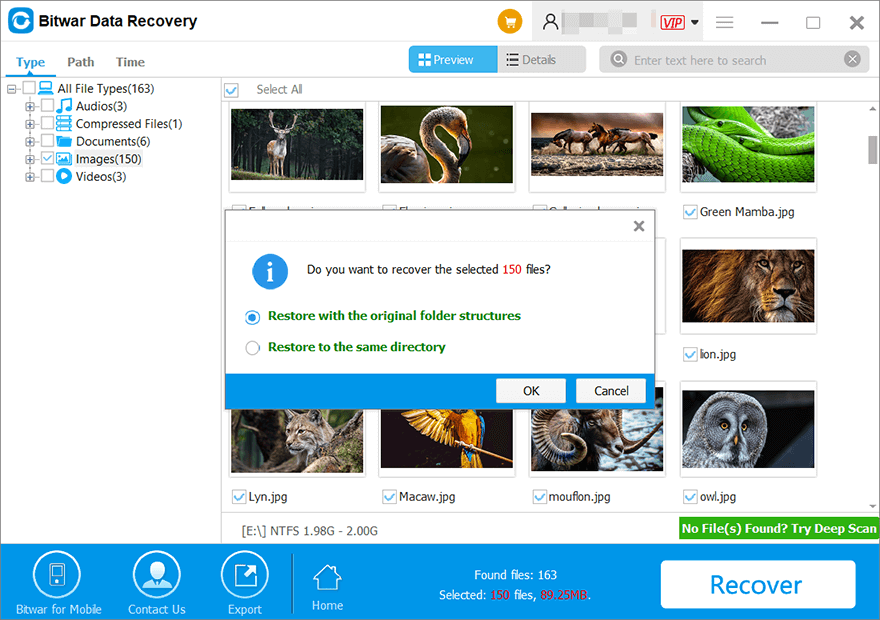
Step 7: Select the needed data and hit on the Recover button to save the data in a safe directory.
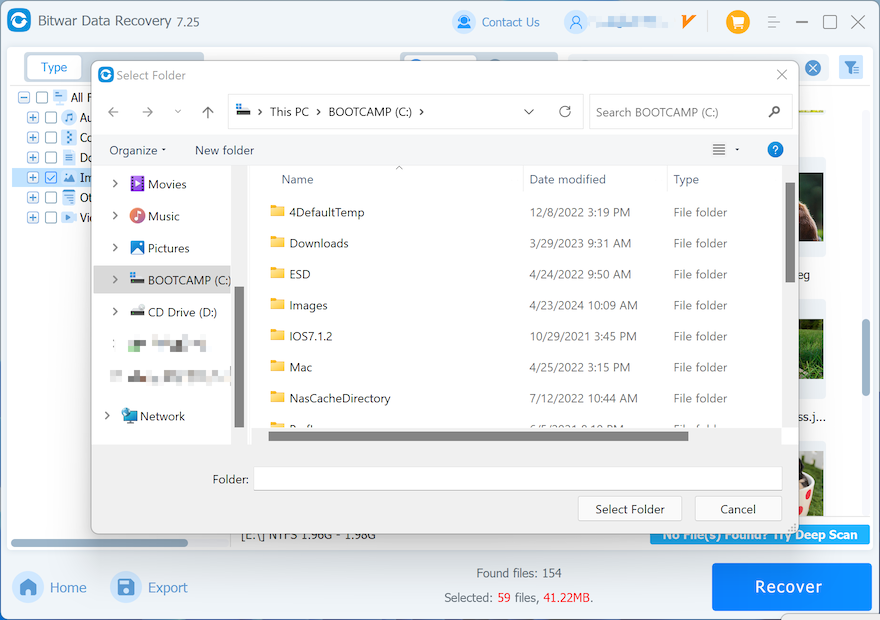
Step 8: Upon clicking the “OK” button, a window will appear for selecting a folder path. It is important to choose a partition or drive that differs from the partition or drive where your lost data is located. If you has only one partition for this case, you can plug an external hard drive to the computer and select again this external HDD in the path selecting window for saving your recovered data.
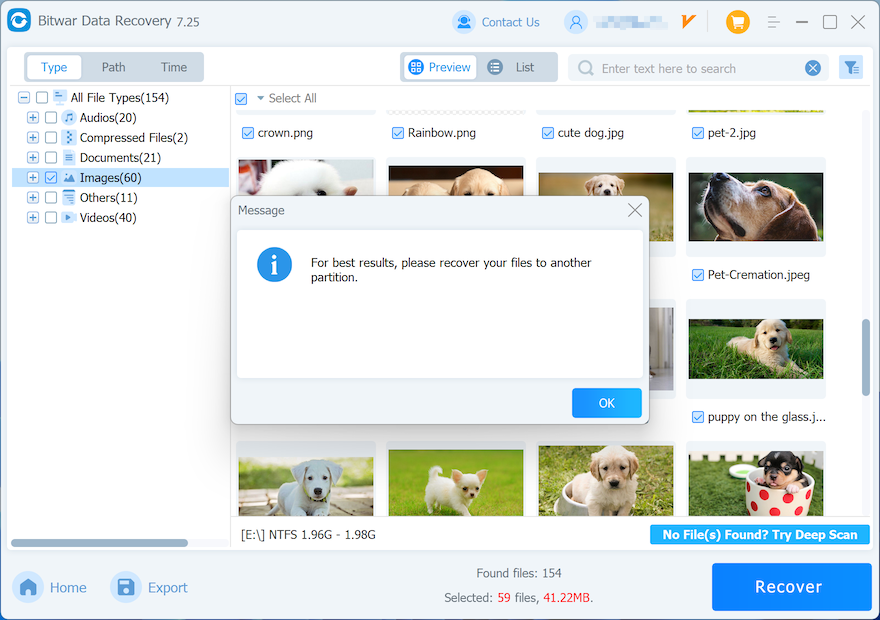
Note: Please select a different partition or drive when saving the files, as it is crucial to prevent overwriting your lost data. Our software will prompt you not to save files to the original drive if you insist doing so. After confirming the accessibility of the restored data and fixing any drive issues, you can transfer the data back to your original partition or drive.
How to Preview Before Recovery
Preview Different Data Types
Bitwar Data Recovery offers a powerful preview feature that can help you check the lost data in real-time. Below animated GIF will walk you through the Preview feature.