[FULL] Solutions To Fix Windows Automatic Repair Not Working Issue
Summary: This article below will guide you through the best solutions to resolve the Windows 10 automatic repair not working error with the help data recovery tool for Windows.
Table of Contents
Overview of Windows Automatic Repair Not Working Issue
When your Windows 10 or any other Windows system fails to boot, it automatically launches an in-build utility called Automatic Repair. This utility is used to fix the Windows operating system. However, at times, this utility itself undergoes some problems while repairing your Windows system.
When Automatic Repair fails to function properly, it throws an error message: Automatic Repair couldn’t repair your system. To make it more specific, there will be two cases that involve the error in which Windows couldn’t load correctly or couldn’t repair the PC.
Therefore, there is nothing to worry about in such a scenario as it’s pretty easy to repair the Windows 10 automatic repair not working error with our guided solutions below based on the two different cases. Besides, a bootable installation media or Recovery system or Drive can help fix your problem.
Case 1: Automatic Repair Windows Couldn’t Load Correctly on Windows
Suppose that you encountered the Windows couldn’t load error correctly or keep saying ” Preparing Automatic Repair ” during start-up; most of the time, it is caused by the corrupted or damaged file system and missing or corrupted Boot Configuration Data (BCD).
So you will need to perform two different solutions to fix the error, and you may require to perform data recovery to restore any deleted data along the way.
Solution 1: System Restore Function
The fastest way to fix Windows 10 repair loop is to click the restore option to a normal state when Windows couldn’t load the error to appear correctly. After Windows has reverted to the previous system, most of your files will be removed from the PC.
Therefore, the next thing you need to do is use data recovery software to recover the removed file after the system restores your Windows.
Recover Data On Windows
In case you lost any data along with the solutions below, you also can retrieve the deleted data by using Bitwar Data Recovery Software. It is the best reliable and professional recovery tool that can allow users to recover any file from internal or external devices on Windows 7, 8, and 10.
So follow the steps below to recover the removed data from your PC:
Step 1: Download and install the data recovery tool from Bitwarsoft Download Center.
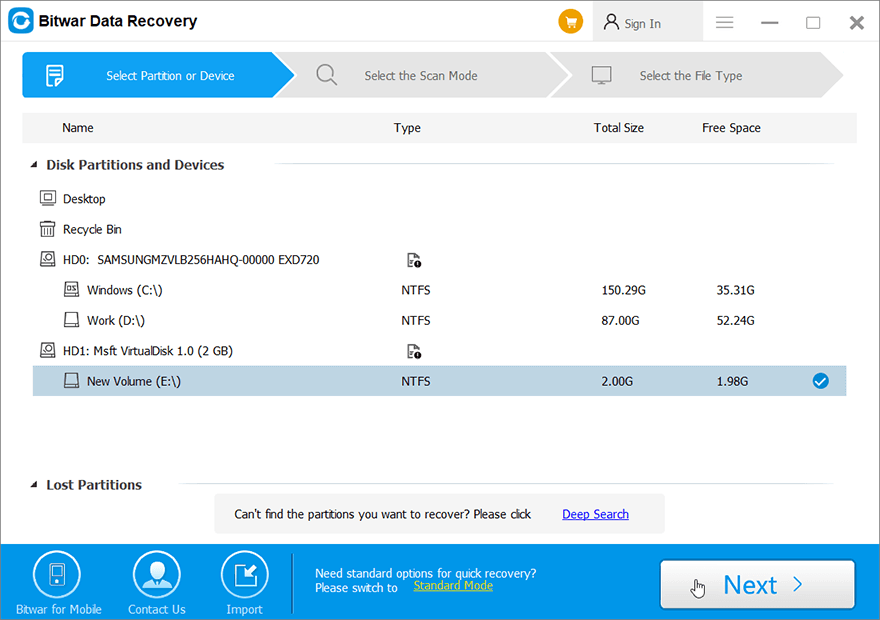
Step 2: Open the recovery tool and select the drive from where you want to retrieve the removed data. Then, press the next button.
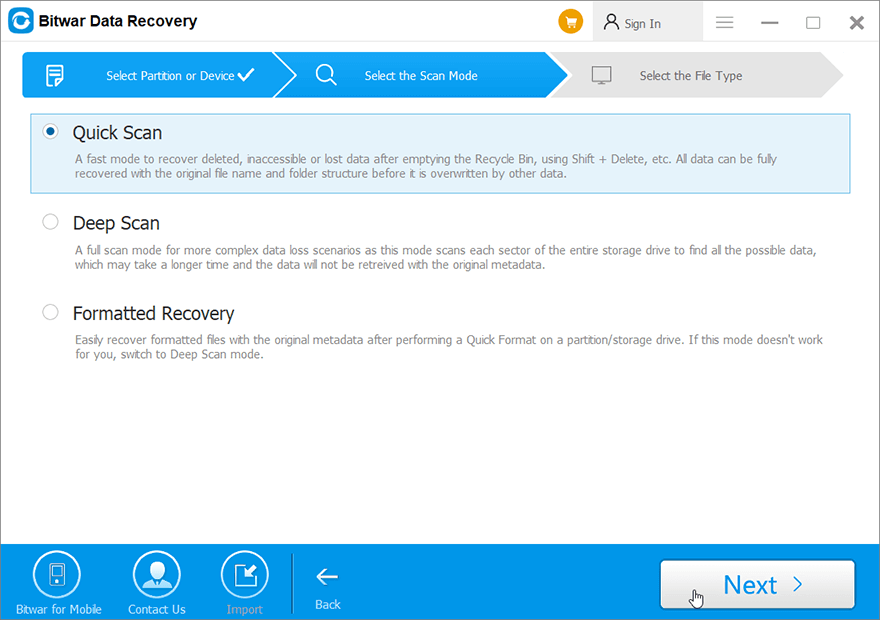
Step 3: Choose Deep Scan mode to perform an in-depth search to look for data in every corner of your drive and click on Next.
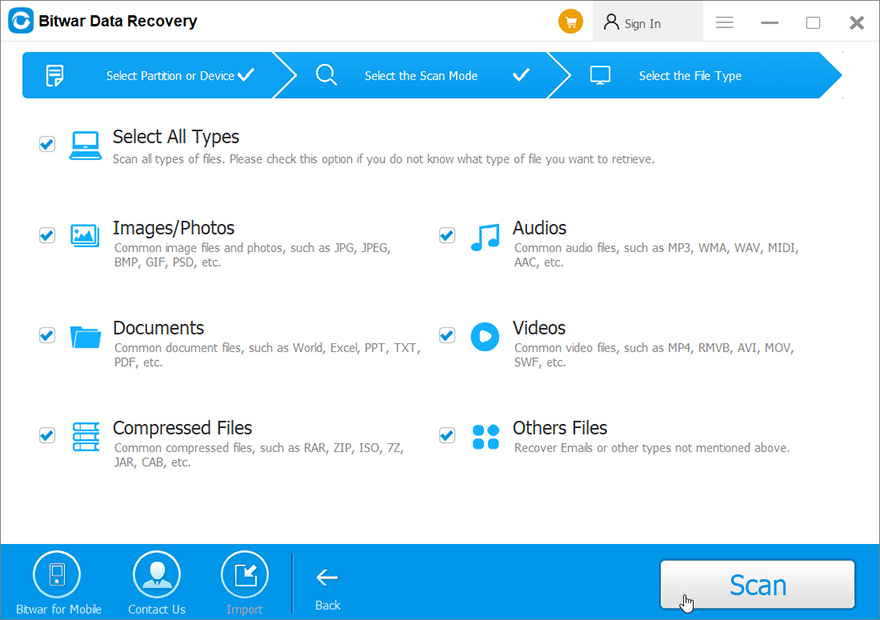
Step 4: Select the file types and followed by pressing the Next button.
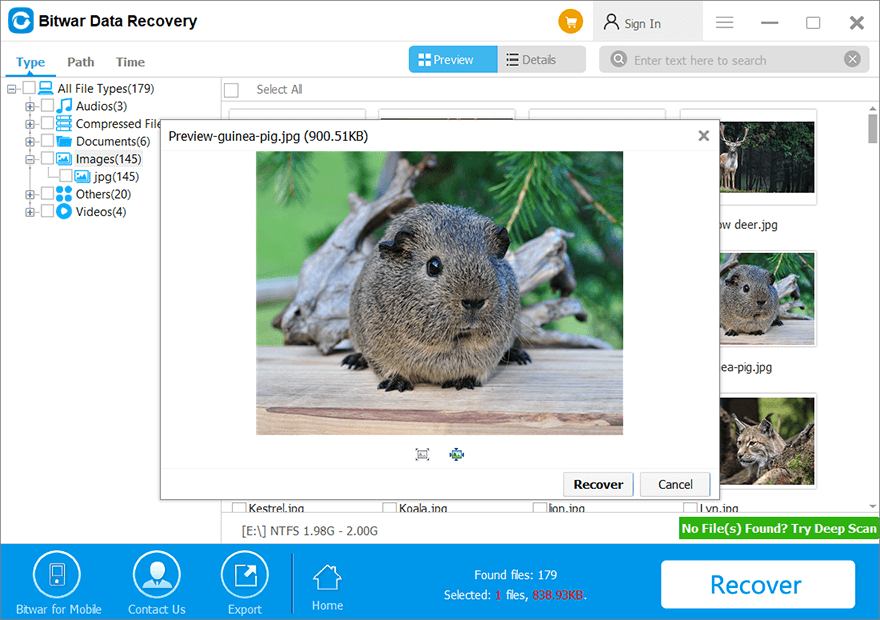
Step 5: Preview all the selected data selected and click on Recover to begin the data recovery process.
Solution 2: Command Prompt
Step 1: Open Command Prompt and type in exe /rebuildbcd followed by pressing Enter.
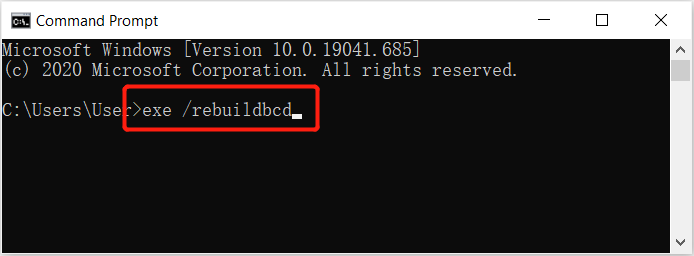
Step 2: Continue with another command: exe /fixmbr and hit enter.
Step 3: Type the command: exe /fixboot command and hit the enter key.
Step 4: Type exit to exit out of command prompt and hit on the enter key.
Step 5: Restart your system to check if you are still stuck in the Windows Automatic Repair loop.
Case 2: Windows Automatic Repair Couldn’t Repair Your Computer
Next, if you face the Windows automatic repair couldn’t repair your computer error, you will need to refer to the practical solutions below to fix Windows 10 repair loop!
Solution 1: CHKDSK Utility
After connecting the installation media or recovery drive to your system, choose your preferred language, and click on the next button to proceed with the below steps.
Step 1: Select the repair your computer option from the bottom.
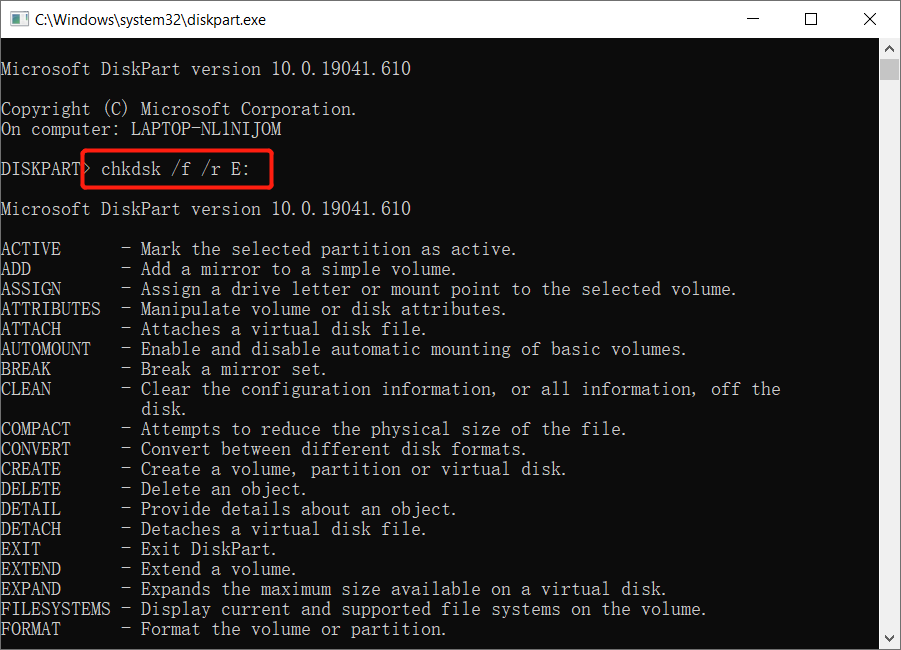
Step 2: After this, select Troubleshoot, then Advanced Options, followed by choosing the Command Prompt.
Step 3: Type in the command: chkdsk /f /r C: (replace C: with your drive letter) and then tap enter.
Step 4: Type exit and hit enter.
Step 5: Restart your system to check if the issue has been fixed or not.
Solution 2: Restore Windows Registry
Step 1: From the windows Boot options menu, select Troubleshoot, Advanced Options, and the Command Prompt.
Step 2: Type the command: cd C:\windows\system32\logfiles\srt\ (replace C: with your drive letter) followed by pressing enter.
Step 3: After this, type the txt command to open the file in notepad.
Step 4: Press Ctrl + O and choose the All Files option and then go to C:\windows\system32.
Step 5: Select CMD and run it as administrator.
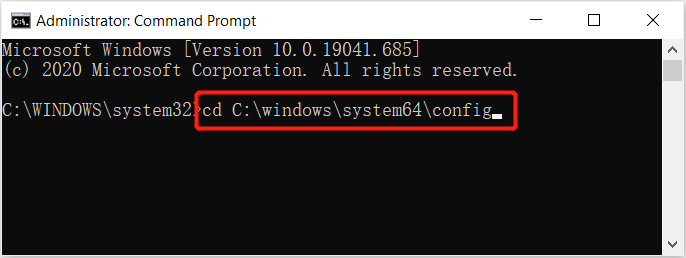
Step 6: Type command: cd C:\windows\system32\config and hit on the Enter button.
Step 7: Create a backup of files like Default, Software, SAM, System, and Security by renaming them to .bak.
Step 8: In this step, execute the below command one after another, followed by pressing on the enter key.
rename DEFAULT DEFAULT.bakrename SAM SAM.bak
rename SECURITY SECURITY.bak
rename SOFTWARE SOFTWARE.bak
rename SYSTEM SYSTEM.bak
Step 9: Type another command: copyc:\windows\system32\config\RegBack c:\windows\system32\config and hit Enter.
Step 10: Reboot your PC system to check if the problem still exists or not.
Solution 3: Delete Problematic Files
Sometimes corrupted or damaged files are the most common reasons that cause the Windows automatic repair not working error to happen.
Step 1: Open the Command Prompt and execute the given command below:
cd C:\Windows\System32\LogFiles\Srt
SrtTrail.txt
Step 2: Then, the message: Boot critical file c:\windows\system32\drivers\tmel.sys is corrupt will appear.
Step 3: Type another command as below and hit enter to execute.
cd c:windowssystem32drivers
Delvsock.sys
Solution 4: Disable Automatic Startup Repair
Step 1: Type the command: bcdedit /set {default} recoveryenabled No in the command prompt followed by pressing enter.
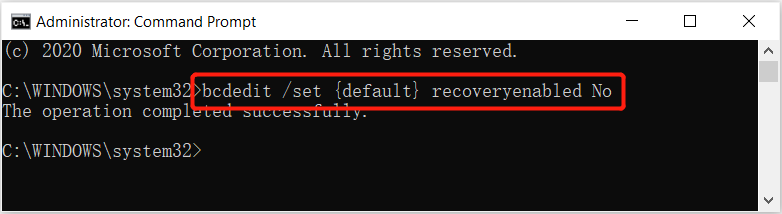
Step 2: Restart your system, and the automatic startup repair should get disabled. Then, you should be able to reaccess Windows.
Step 3: If you want to enable Automatic Startup Repair again, type the command: bcdedit /set {default} recoveryenabled Yes, and press enter to execute it.
Solution 5: Check OsdevicePartition and Device Partition
Step 1: Open the command prompt again and type bcdedit command, followed by pressing enter.
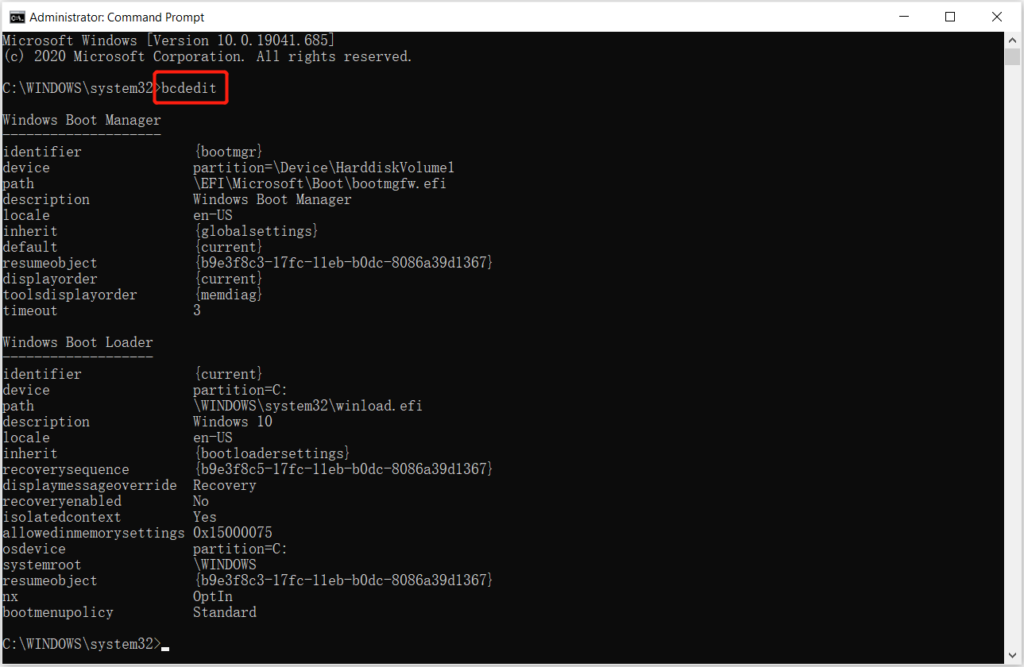
Step 2: Look for the device partition and osdevice partition and ensure their values are correctly set.
Step 3: Since Windows comes pre-installed on the C partition, the correct amount should be C: if the value is not set to C: then execute the below commands one after another.
bcdedit /set {default} device partition=c:
bcdedit /set {default} osdevice partition=c:
The above-given solutions should help in resolving the Windows automatic repair not working issue.
Resolve It Easily!
Make sure to follow the given solutions above carefully to prevent any data loss. However, if you do end up losing important files fixing the Windows automatic repair not working error, remember to use Bitwar Data Recovery software to get back the lost data to prevent permanent data loss on your Windows!
Previous Article
4 Effective Solutions To Fix Seagate External Hard Drive Not Showing Up Mac Issue Summary: This article below will guide you through the best solutions to resolve the Windows 10 automatic repair not working...Next Article
[Full Recovery] How To Recover Lost Data By DISKPART Clean/Format Summary: This article below will guide you through the best solutions to resolve the Windows 10 automatic repair not working...
About Bitwar Data Recovery
3 Steps to get back 500+ kinds of deleted, formatted or lost documents, photos, videos, audios, archive files from various data loss scenarios.
Learn More


