Solved:Check The Update History On Windows 11
Table of Contents
Overview Update History on Windows 11
We all know that Microsoft continually releases updates to the versions of Windows that are still in service to fix bugs in the operating system. Windows 11 is no exception. These updates include feature updates, quality updates, driver updates, definition updates, and other updates. Here, you may ask if we can view the update history on Windows 11? Of course yes.
Practical solutions to check the update history on Windows 11
We have listed below three methods to check the update history on Windows 11.
Method 1: Check the Update History on Windows 11 Using Settings
Look at the below steps to get to know the simplest method to check the update history on Windows 11.
Step 1: Press Windows + I to open the Settings app.
Step 2: Click Windows Update in the left panel.
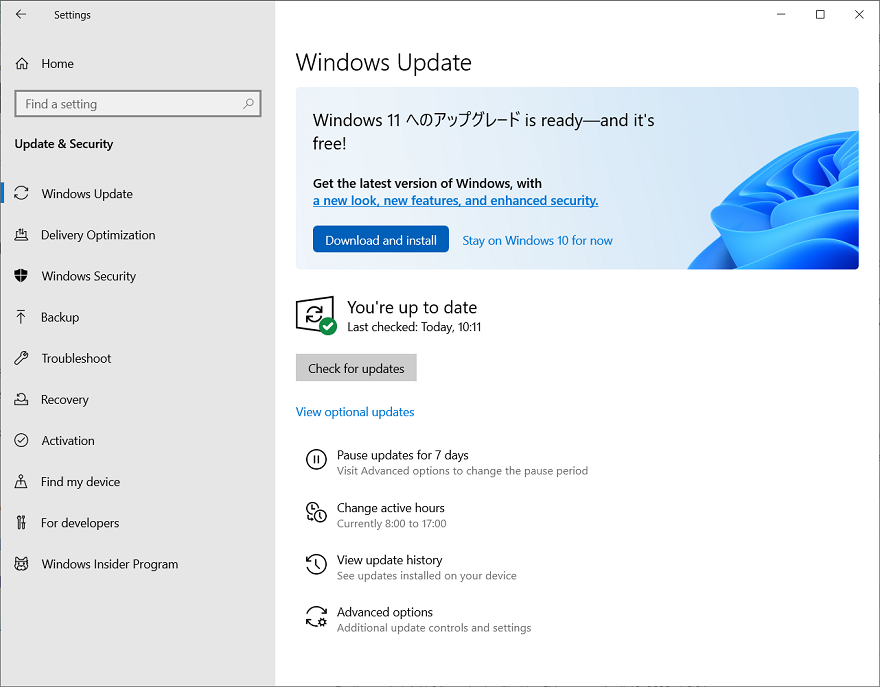
Step 3: Click Update History in the right panel.
Step 4: You can view the Windows 11 update history on the next page. These updates are categorized by types such as feature updates, quality updates, driver updates, definition updates, and other updates. You can expand each type to view installed updates. You can also view the installation date of the update.
Method 2: Windows 11 Update History Using Command Prompt
You can also use the command prompt to see the windows 11 update history
Step 1: Click the search icon in the taskbar.
Step 2: Type cmd in the search bar and select Command Prompt from the search results to open Command Prompt.

Step 3: Type wmic qfe list at the command prompt and press Enter.
Step 4: If you want to check if a specific update (eg KB5007328) is installed, you can use the following command: wmic qfe | Find “5007328” and press Enter. After that, you can view your Windows 11 update history.
Method 3: View the Installed Updates on Windows 11 Using Windows PowerShell
Another way to check the update history on Windows 11 is to use Windows PowerShell. Remember, you must run Windows PowerShell as an administrator.
Step 1: Click the search icon in the taskbar and search for Windows PowerShell.
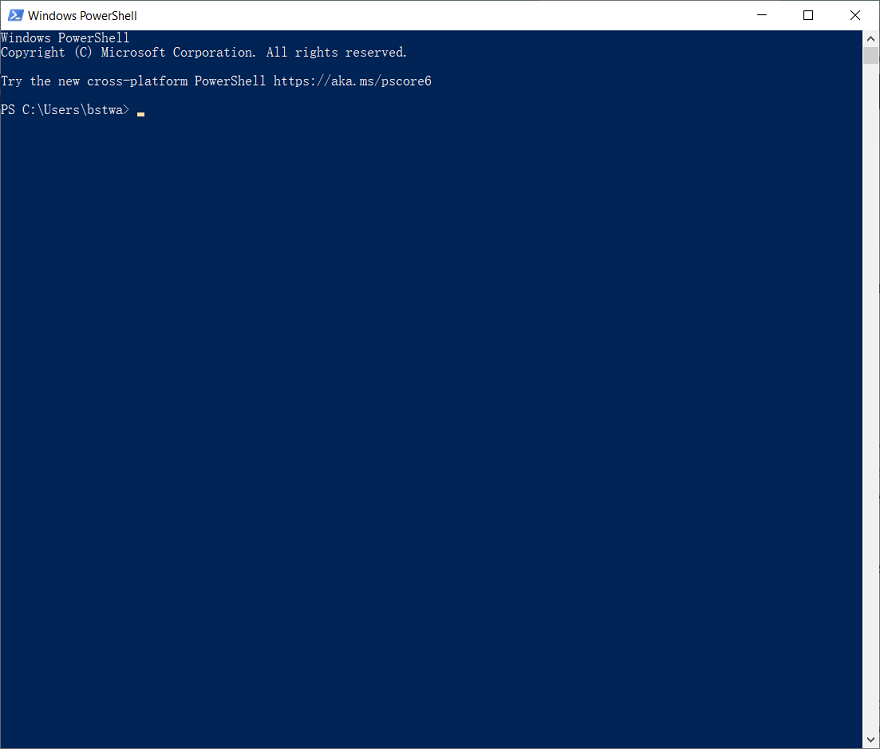
Step 2: Right-click Windows PowerShell from the results and select Run as administrator.
Step 3: Type Install-Module PSWindowsUpdate and press Enter. If this command does not work, you will need to type Set-ExecutionPolicy bypass followed by Install-Module PSWindowsUpdate again for the command to succeed. But you should remember to type Set-ExecutionPolicy undefined after running all the steps in this guide to restore the default security script settings.
Step 4: Type Get-WUHistory | Select-Object -First 20 and press Enter to display the last 20 updates installed on your Windows 11 computer.
Conclusion
For some reason, you might be wondering what updates are installed on your Windows 11 computer, and you don’t know how to check the update history on Windows 11, after reading this post, you can easily view it by using the above mention methods.
Previous Article
Hard Drive Recovery: Recover Lost Or Deleted Data Summary: Have you ever encountered a problem in checking the update history on Windows 11? If you do have, do...Next Article
[Free] Best Ways To Convert MKV To MOV Files For Windows Summary: Have you ever encountered a problem in checking the update history on Windows 11? If you do have, do...
About Bitwar Data Recovery
3 Steps to get back 500+ kinds of deleted, formatted or lost documents, photos, videos, audios, archive files from various data loss scenarios.
Learn More


