5 Methods To Solve MacBook Camera Not Working
Table of Contents
Overview
Since FaceTime is automatically activated, there is no need to manually connect the camera on the Mac. However, the activation process sometimes fails, so it is best to know what to do to restore the connection.
If your MacBook camera is not working, it may indicate disconnected or unavailable. But don’t rush to assume that now you need to reconnect the camera in some way, or there is a hardware problem that requires warranty service, you can usually use some methods to solve the MacBook camera not working.
5 Methods to Solve MacBook Camere not Working
Method 1: Activity Monitor
We know that the Mac camera is automatically opened by the app that uses it. But only a single app can use the camera at the same time. Therefore, when the MacBook camera doesn’t work properly, please check whether you open another app that is currently using the camera.
Go to Finder > Application > Utilities > Activity Monitor and exit all other open apps or utilities that may be using the camera. If you are not sure which apps may be accessing your camera, please save your work and close all open apps.
Method 2: Restarting Mac
If exiting the apps does not help, there may be some processes using the camera in the background. Restarting Mac will almost certainly solve the problem, allowing you to have full access to the camera again.
Method 3: Force Quit
Restarting your MacBook may not be an option when making important FaceTime calls. Fortunately, for the situations where FaceTime cannot work on a Mac, there is another way to solve the problem immediately without restarting. That is to force an exit process using commands:
Go to Application > Utilities > Terminal and type in sudo killall VDCAssistant and press the Enter key. If prompted, enter the administrator password. Last, restart the app to see if the problem of the camera not working on the MacBook has been resolved.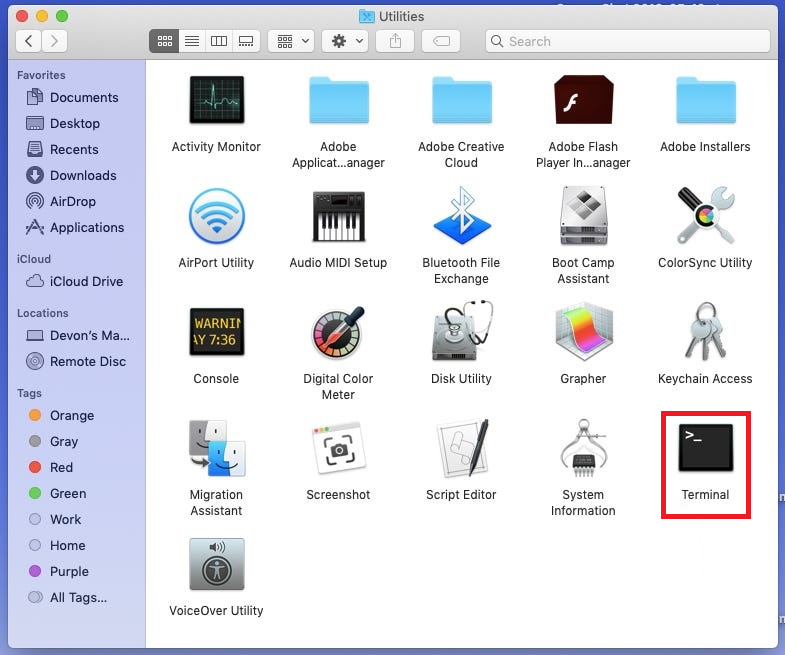
Method 4: Reinstall Applications
If your camera does not work properly on a MacBook when making a Skype call, it is likely that Skype is the app to blame. Follow the below to deal with the inability to use a Skype camera on Mac.
Make sure you have the latest version of Skype. If you do this, but there is still no camera connected to your MacBook, please reinstall the app. Are you still having problems? The same fixes also apply to the FaceTime app that cannot be used on Macs. Then restart your computer and test Skype again.
Method 5: Resetting SMC
Unfortunately, the all above methods don’t seem to help, the last try is resetting the System Management Controller (SMC). SMC manages many hardware functions on Mac, restarting SMC can solve your problem. To reset the SMC on a MacBook:
- Turn off the computer.
- Plugin the power adapter while holding down the Shift + Control + Option keys and the power button for about 10 seconds.
- Release the buttons and restart your Mac after several seconds.
Assuming that the MacBook camera does not work because of the SMC, then the problem should be solved now.
Friendly Reminder
After reading through the methods for the MacBook camera not working properly, you must remember that the camera should work properly in most cases. Unless your Mac tends to accumulate many kinds of useless files, it may slow down its operation. So in addition to the above methods, we also recommend that you manage your MacBook regularly.
Previous Article
How To Recover Deleted Images From SD Cards Summary: Most MacBooks have a front lens: FaceTime lens, which is located near the top edge of the screen and...Next Article
Use Disk Utility To Format A USB Drive On Mac Summary: Most MacBooks have a front lens: FaceTime lens, which is located near the top edge of the screen and...
About Bitwar Data Recovery
3 Steps to get back 500+ kinds of deleted, formatted or lost documents, photos, videos, audios, archive files from various data loss scenarios.
Learn More


