Windows 10のスタートボタンを非表示または削除する方法は?
要約:Windows 10は、ユーザーがスタートメニューにリストされているインストール済みアプリにアクセスできるように、スタートメニューのレイアウトを変更しました。ただし、キーボードショートカットを使用してアプリを起動していた人の中には、スタートメニューを無効にしたい場合があります。したがって、今日、このハウツー投稿は、スタートメニューを非表示または削除するための実用的な方法を提供します。
目次
Windows 10のスタートメニューとは何ですか?
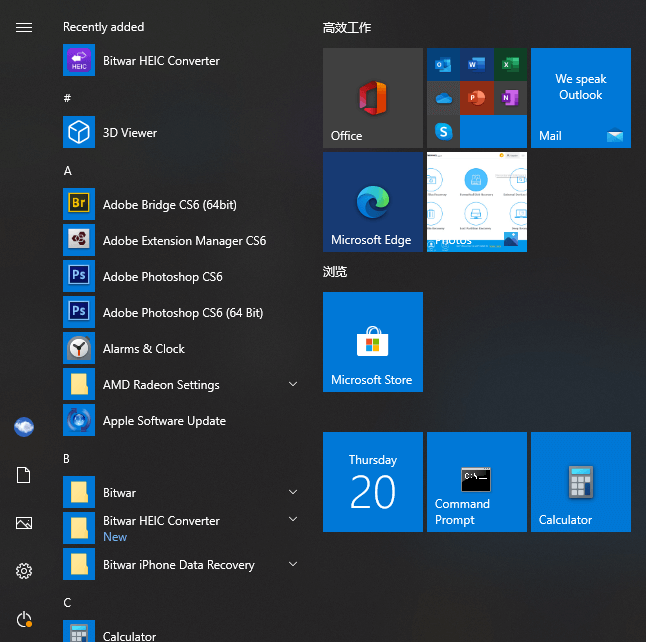
Win10のスタートメニューは、頻繁に使用するすべてのプログラム、フォルダー、および連絡先のディレクトリです。これは、PC上のアプリケーションにアクセスするための主要なポイントです。ユーザーは[スタート]ボタンをクリックするか、Winロゴキーを押して[スタート]メニューにアクセスできます。
Windows 10のスタートメニューには、2つのペインと1つの検索ボックスがあります。ユーザーは、左側のペインですべてのアプリを見つけ、右側のペインでアプリの対応するライブタイトルを見つけることができます。左側のペインの[すべてのアプリ]リストにあるアプリはすべて、右側のタイルとしてコピーできます。
Windows 10のスタートメニューを非表示にする方法は?
StartIsGoneを使用してスタートメニューを非表示にする
StartIsGone ユーザーがタスクバーのスタートメニューを非表示にするのに役立つポータブルプログラムです。 Win 8.1とWin 10に完全にネイティブです。
- 最初にStartisgoneをダウンロードして実行する必要があります。その後、そのアイコンはシステムトレイに表示されます。
- トレイアイコンを右クリックして、起動時にロードにアクセスし、システムトレイアイコンオプションを非表示にします。わずか1.7MBのメモリが必要です。
- スタートメニューを表示または戻す場合は、SatrtIsGoneプログラムを閉じます。
スタートキラーでスタートメニューを隠す
キラーを開始 スタートメニューを非表示または無効にする無料のプログラムです。スタートキラーでスタートボタンを隠すのは簡単です。
- まず、StartKillerをダウンロードしてインストールする必要があります。
- スタートメニューから実行し、アイコンを右クリックして「設定」を開くか終了します。
- スタートキラーを自動的に実行したい場合は、「システム起動時にロード」オプションをオンにすることができます。
- StartIsGoneと同様に、スタートキラーを閉じてスタートメニューに戻すことができます。
スタートメニューを非表示にしますレジストリエディター
- 押して[実行]ダイアログボックスを開きます 勝つ + R キーボードのキーを入力します 登録編集 を押します。 入力します 開く鍵 レジストリエディタ.
- を選択してください はい のボタン UAC (ユーザーアカウント制御)プロンプト。
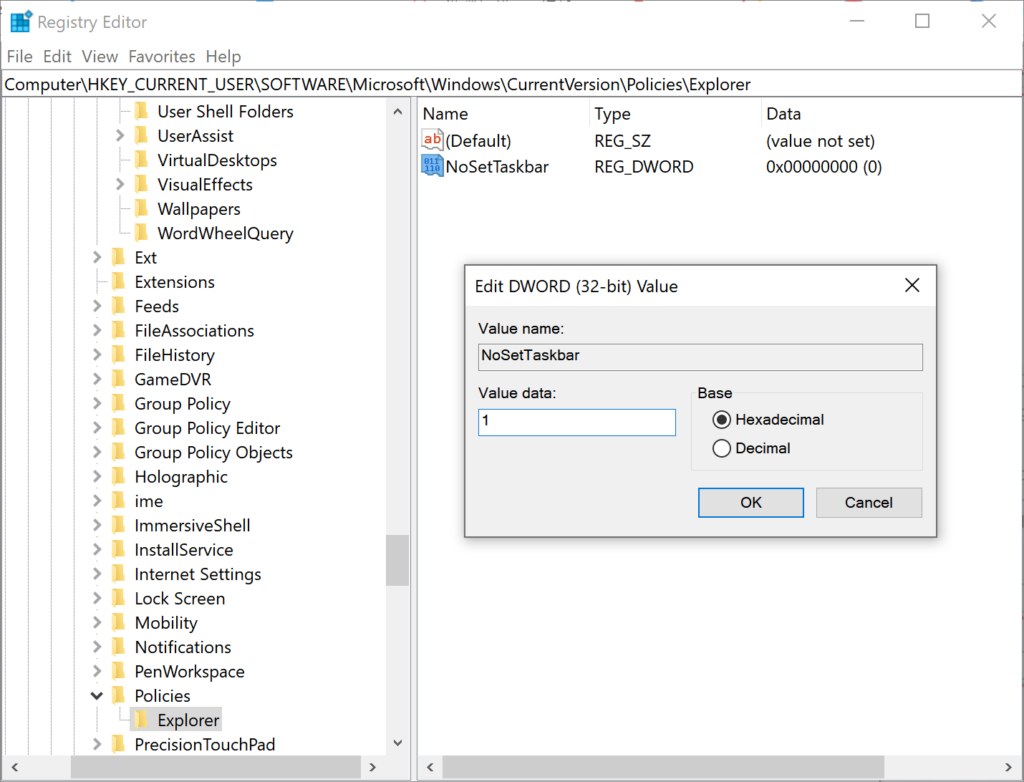
- 現在のユーザーハイブで、次のキーに移動します。 hkey_current_user \ software \ microsoft \ windows \ currentversion \ policies \ explorer
- で エクスプローラ キー、右ペインを右クリックして選択します 新規 > DWORD (32 ビット) 値 オプション。この新しく作成された値に名前を付けます Nosettaskbar.
- をダブルクリックします Nosettaskbar それを開いてから変更する価値があります 値のデータ へ 1.
- 最後に、システムに変更を適用するには、システムを再起動する必要があります。
- あなたがそれを有効にしたいなら、あなたは Nosettaskbar もう一度大切にして変更します 値のデータ へ 0.
結論
ザ· スタートメニュー アプリやプログラムを起動したり、Windowsの設定を調整したり、厄介な状況について助けを求めたり、Windowsの電源を切ったり、しばらくPCを離れたりする方法を提供します。ユーザーは、必要がなければ簡単に非表示にしたり削除したりできます。彼らはまたそれを簡単に戻すことができます。
前の記事
Safe Way To Convert PDF Document to Other Format! Summary: Windows 10 changed the Start Menu layout so that users can access the installed apps listed on the Start...次の記事
3 Solutions to Fix Unable to Read File in Excel Summary: Windows 10 changed the Start Menu layout so that users can access the installed apps listed on the Start...
Bitwar データ復旧について
3 つのステップで、さまざまなデータ損失シナリオから削除、フォーマット、紛失した 500 種類以上のドキュメント、写真、ビデオ、オーディオ、アーカイブ ファイルを取り戻します。
詳細はこちら


