


Summary: After getting started with the installation of Bitwar Data Recovery, here in this article, we will discuss the first stage of the recovery process, as well as how to choose the right recovery mode and how to switch.
Bitwar Data Recovery offers two recovery modes for data recovery purposes. Standard Mode works better for users who know why their files got lost, whereas it is advised to choose Wizard Mode if the users have no ideas how the files have been lost.
Table of Contents
Wizard Mode
There are brief instructions present when you are launching the program for the very first time. In this stage, you will see three pop-ups that give straightforward explanations of Wizard Mode.
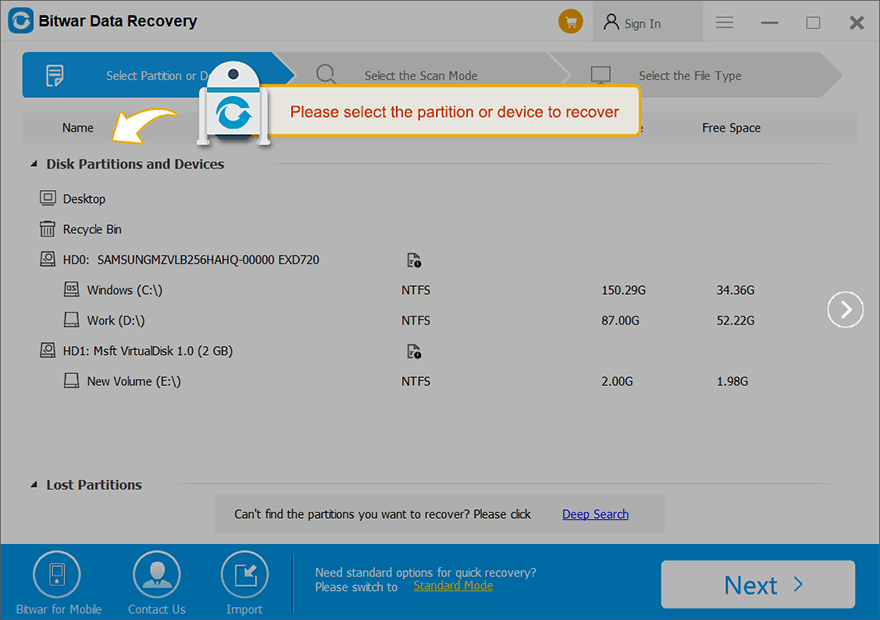

While you are in the first stage of Wizard Mode, three arrows show the three stages of your recovery process. Ongoing and complete stages turn blue, whereas remaining ones stay gray.
- Stage One: Select Partition or Device
- Stage Two: Select the Scan Mode
- Stage Three: Select the File Type
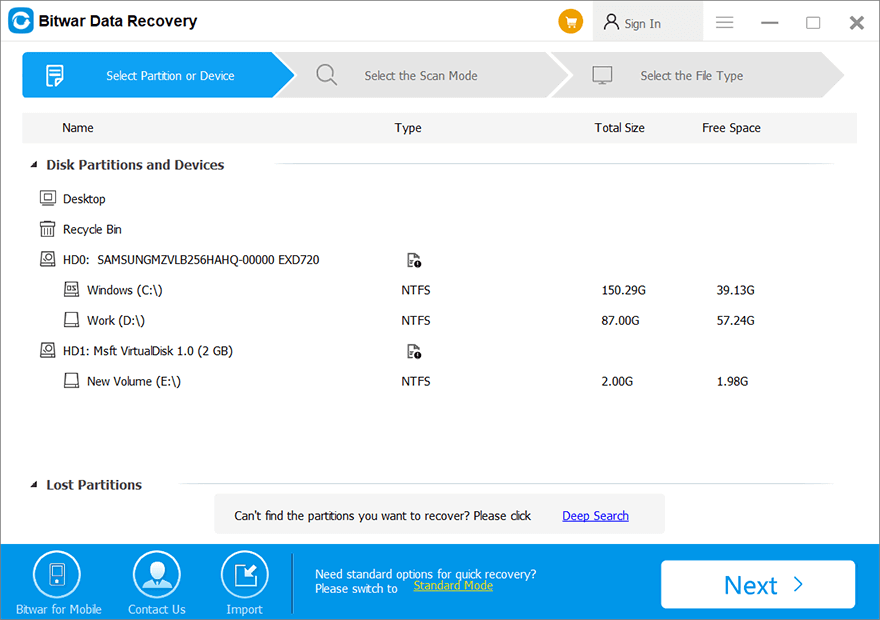
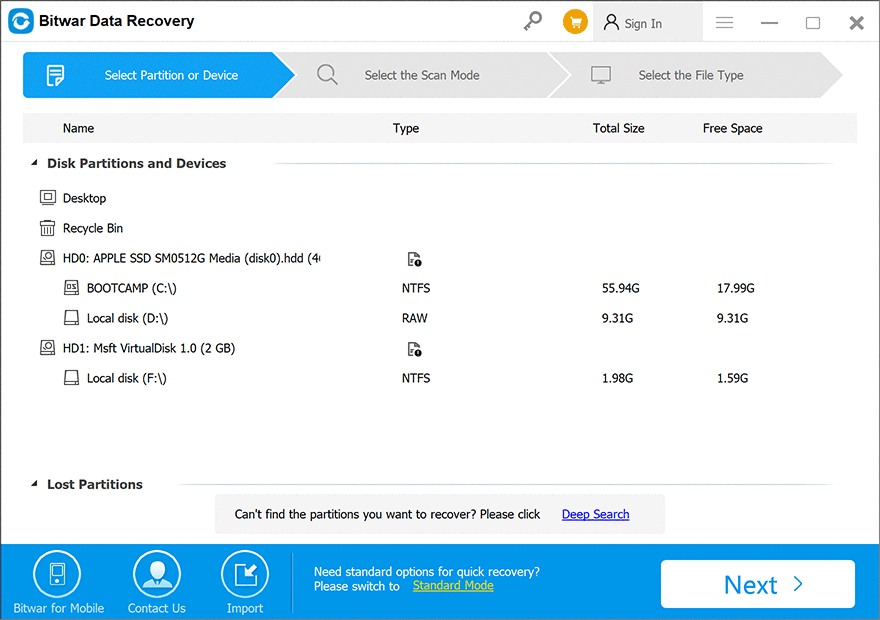
At the center, this tool displays all the storage drives you have. When you right-click on any of them, there will be three options.
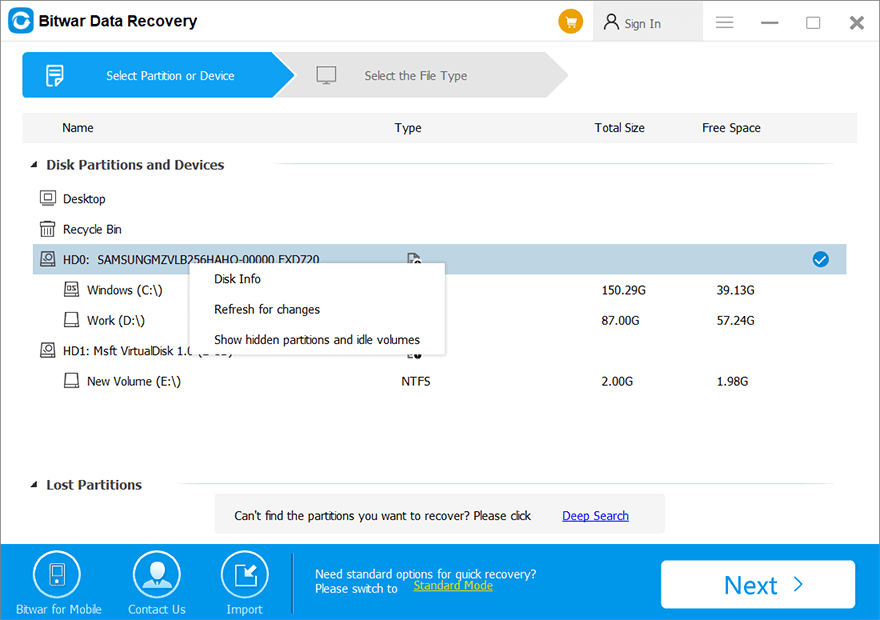
- More info: Contains two aspects about the disk: basic information and disk health.
- Refresh list: Refresh the current storage device list when a new storage drive connects.
- Show hidden partitions and idle areas: Does what the name suggests.
- Lost Partitions: Scans the lost or missing partitions and retrieves the data.
In Wizard Mode stage, we can select the Disk or Partition which has the lost files and then click on the Next button.
Standard Mode
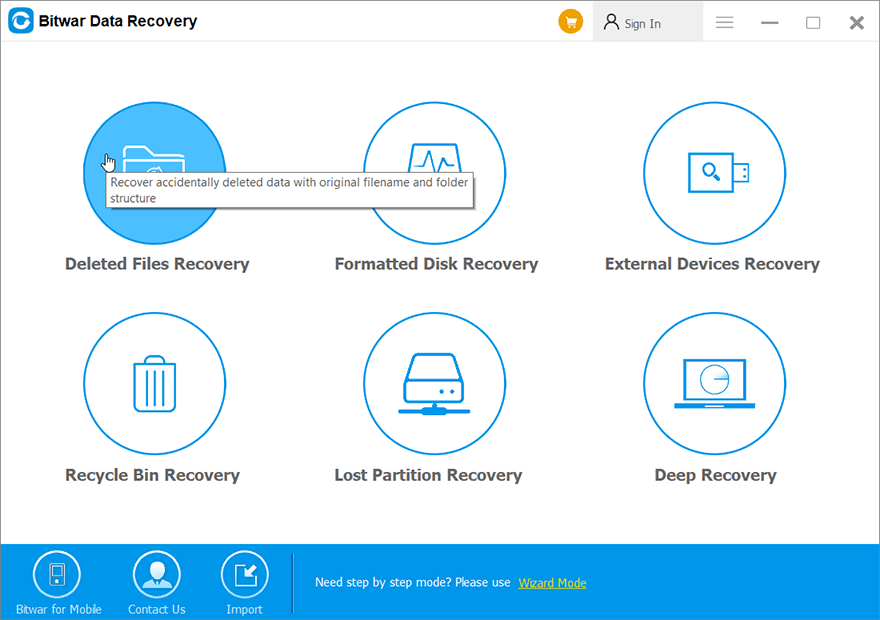
The standard mode provides six common options that can be selected based on how the data is lost. Putting your pointer on any of them will show you a brief explanation of it. Select the needed option and continue.
Warm prompt
Please stop using your computer immediately when the scanning starts and also please do remember that don’t re-use your internal & external hard drive, USB flash drive, SD memory card, or any storage drive before the data recovery, this is a purpose to prevent the lost data from being overwritten by the new data.
For the next step about the Select the Scan Mode, click on the link: